

Version5.0.0 beta
Preset Menu
The Preset Menu provides access to a set of actions related to the currently loaded preset. These actions help you manage control values, reset them, and trigger custom behavior.
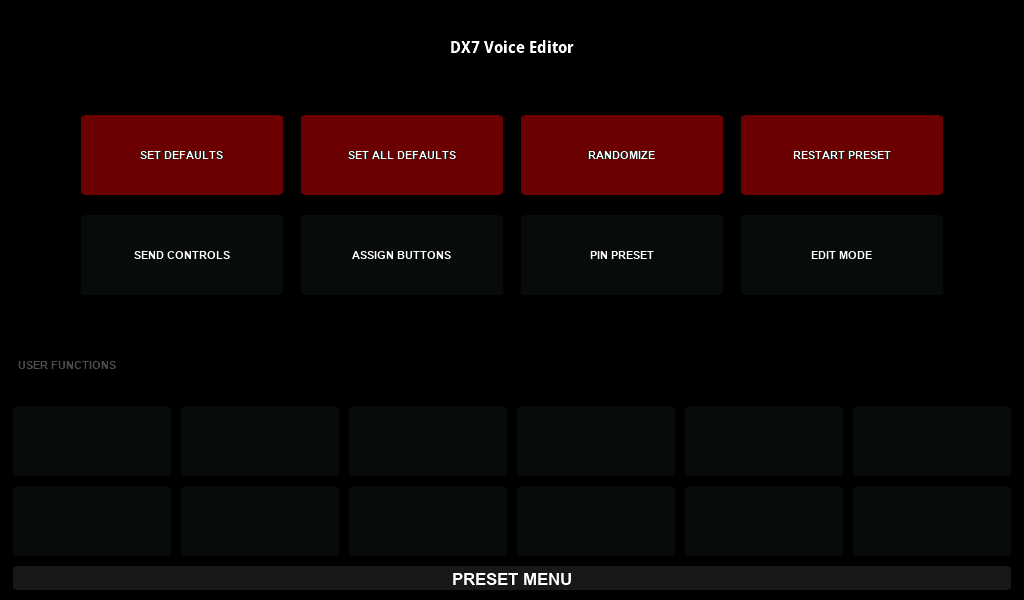
The window is titled PRESET MENU and the name of the current preset is shown at the top. Below it are eight action buttons in two rows of four, and under the USER FUNCTIONS label twelve pads, one for each knob.
Available Actions:
SET DEFAULTS– Reset only the controls with a defined default value.SET ALL DEFAULTS– Reset all controls to their default or to zero if no default is defined.RANDOMIZE– Apply randomized values to all preset controls based on their type.RESTART PRESET– Restart the preset.SEND CONTROLS– Resend the current value of every control in the preset.ASSIGN BUTTONS– Assign preset's user functions to hardware buttons.PIN PRESET– Keep preset running on background.EDIT MODE– Toggle the edit mode.- User Functions – Access up to twelve user-defined Lua functions mapped to knobs.
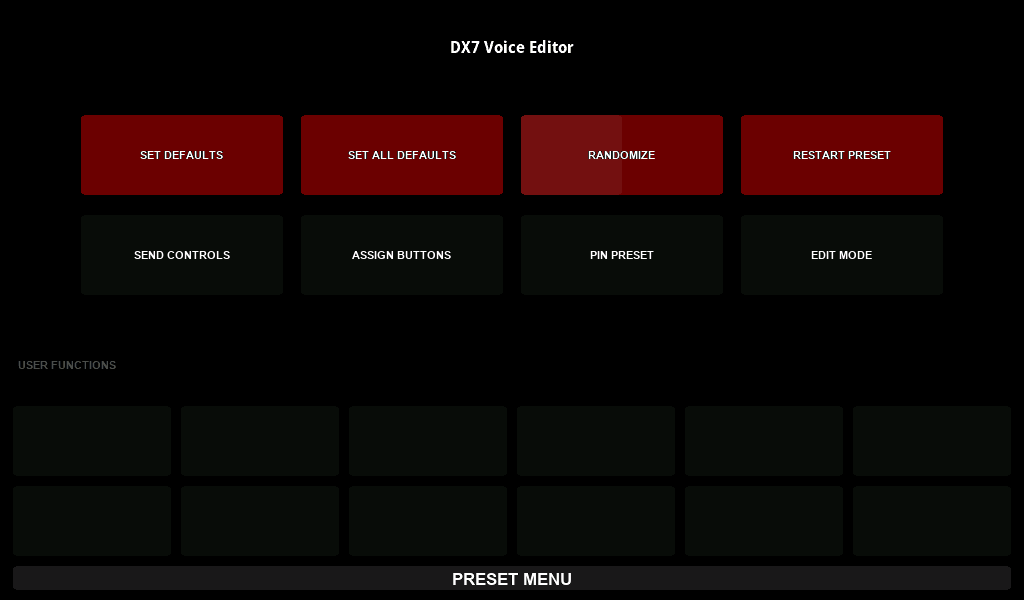
The four buttons in the top row change or discard control values and there is no undo, so they are hold-to-confirm buttons. Press and hold [SET DEFAULTS], [SET ALL DEFAULTS], [RANDOMIZE] or [RESTART PRESET] until the button fills; it acts when the bar reaches the end. Letting go early does nothing. The [CLEAR ALL] button of Assign Buttons works the same way. [SEND CONTROLS], [ASSIGN BUTTONS], [PIN PRESET] and [EDIT MODE] are ordinary taps.
Closing the Preset Menu writes the preset slot's button assignments to the SD card.
Setting Defaults
Each control in a preset may optionally have a default value defined by the preset author. This value is used when resetting or initializing the control, and can be tailored to the musical or functional purpose of the preset.
If a control does not have a defined default, the controller will apply a fallback rule:
- If the control allows 0, that becomes its default
- If 0 is not within the control’s valid range, the nearest allowed value is used instead: the minimum when the whole range is above 0, the maximum when the whole range is below 0
- A pad without a defined default is off
- A list without a defined default is set to its first item
This behavior also determines how the preset behaves when it is first loaded, or when a user resets an individual control to its default, for example, by double-tapping the control, if that action is enabled in the configuration.
By thoughtfully assigning default values, preset authors can define which controls are resettable and what their ideal starting state should be. This gives users precise control over what the defaulting actions will affect.
Set Defaults
Press and hold the [SET DEFAULTS] button until it fills. It resets the values of only those controls that have a default value explicitly defined in the preset. Controls without a defined default will be left unchanged.
This is useful when you want to restore just the intended default state, without affecting experimental values or undefined parameters.
Set All Defaults
Press and hold the [SET ALL DEFAULTS] button until it fills. It resets the value of every control in the preset, on every page.
For controls with a defined default, that value is used. For controls without a default, the controller uses 0 or the control’s minimum value, depending on what is allowed as described above.
Randomize
Press and hold the [RANDOMIZE] button until it fills. It performs a full randomization of all preset controls:
- Faders and numeric inputs: random value within the defined range, the minimum and the maximum included
- Lists: random list item
- Pads: randomly set to on or off
Randomization covers every control of the preset, on every page, not only the page you are looking at. The new values are sent out as if you had set them by hand.
A control that carries more than one value gets a separate random value for each of them. An envelope is given one value per stage, an XY pad one for each axis, and the same goes for vertical fader groups and custom controls. The values are drawn independently of each other, which is why a randomized envelope rarely looks like an envelope.
Controls whose MIDI message type is none are randomized on the screen, but nothing leaves the controller for them. This is the opposite of snapshots, which leave such controls alone.
If you need a more refined control over the randomization or if you need to morph sound parameters between two existing sounds refer to the Snapshots section of the User Guide.
Restart Preset
Press and hold [RESTART PRESET] until the button fills. It fully restarts the preset you are on. All preset values are reset to their default settings, and the Lua script is reloaded. Restarting the preset is equivalent to re-uploading the preset to the same preset slot.
Send All Control Values
Tapping the [SEND CONTROLS] button forces the controller to retransmit the current value of every control in the preset. This is useful for resynchronizing connected MIDI devices or reinitializing external gear.
Assign Buttons
The Assign Buttons feature is used to assign custom Lua user functions to the controller’s hardware buttons. These assignments allow users to further customize the Electra One controller to fit their workflow.
Assigning a button
To assign a user function to a hardware button, arm the learning mode by tapping the [ASSIGN BUTTONS]. The learning mode is indicated by the flashing frame around the button.
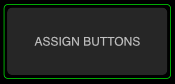
Touch and hold the knob that represents the user function you want to assign. The on-screen button will be highlighted while you hold the knob. While continuing to hold the knob, press the hardware button you want to assign the user function to. Once the hardware button is pressed, the assignment will be shown on the on-screen button representing the user function.

The picture above shows the Clear function being assigned to the Left Middle hardware button, while Start and Stop user functions stay unassigned.
The button is assigned to the knob you are holding at that moment, so you can assign one function after another without leaving the learning mode. Tap [ASSIGN BUTTONS] again to leave it.
Assignments belong to the preset slot, not to the preset itself. They are written to the SD card when you close the Preset Menu.
Button mode
You can assign buttons in Normal and Alternate modes.
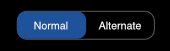
Buttons assigned in Normal Mode will trigger their user functions when you simply press the hardware button while working with a preset.
Alternate assignments work only while the controller is in Alt mode. The default button layout of the Electra One mk2 has no Alt button, so you have to make one first. There are two ways to do it:
- Assign the
Toggle alt modecommand to a hardware button in Settings → Buttons. Used from a button, Alt mode is momentary: it is on while you hold the button and off as soon as you let go. Note that switching on your own button assignments means the other five buttons stop following the default layout as well. - Assign
Toggle alt modeto a message in MIDI control. Sent this way the command latches: one message switches Alt mode on and the next one switches it off.
While Alt mode is on, the Alt mark is shown among the mode indicators in the Bottom bar.
Clearing the assignments
One button does both jobs. It sits to the right of the Normal / Alternate switch and appears only while the learning mode is armed and the preset slot has at least one assignment. It reads CLEAR ALL, and changes to CLEAR while you are touching a knob. In both roles it is a hold-to-confirm button: press and hold it until it fills.
To clear an individual assignment, touch and hold the corresponding knob and then press and hold the [CLEAR] button.
To clear every assignment, press and hold the [CLEAR ALL] button without touching a knob. This resets all six hardware buttons of the preset slot, so it also removes any button assignment the preset itself carries, not only the user functions you assigned here.
Pin Preset
By default, when you switch from one preset to another, the previous preset is suspended. This means it temporarily stops all activity:
- It no longer listens to incoming MIDI messages
- Any running Lua timers, callbacks, or Data pipe logic are paused
- The preset will remain suspended until you switch back to it, either manually via the Preset Selection screen or programmatically (e.g. using a MIDI Control command)
Keeping a Preset Active
When you pin a preset by tapping the [PIN PRESET] button, you instruct Electra One to keep that preset active in the background, even after switching to a different one. A pinned preset continues to:
- Respond to incoming MIDI messages
- Execute Lua functions, including timers and callbacks
- Generate Data pipe output, such as MIDI LFOs, step sequencers, or automation sources
The preset stays pinned until you either unpin it by tapping the [PIN PRESET] button again, or you replace it by uploading a new preset to the same preset slot. In both cases, the pinned status is cleared and the preset will no longer remain active in the background.
Indicating pinned presets
When a preset is pinned:
- The
[PIN PRESET]button appears in blue and is highlighted with a light gray outline.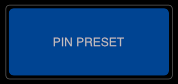
- In the Preset Selection window, pinned presets are marked with a small visual indicator, so you can quickly see which presets are currently running in the background
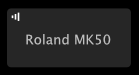
Parallel Operation
Pinning allows Electra One to become a multi-layered control environment, where one preset may drive background behavior while another handles foreground interaction, or several presets operate in parallel.
This is especially useful when:
- You want multiple presets to stay in sync with connected MIDI devices
- A preset is acting as a sequencer, clock source, or MIDI generator
- You rely on background activity, like modulation, even while focusing on a different preset
Edit Mode
Tapping the [EDIT MODE] toggles the controller between Standard Mode and Edit Mode. Edit Mode is used to create and modify a preset’s Performance page. A detailed description of how to edit the Performance page can be found in the Performance section of this user guide.
When edit mode is enabled, the [EDIT MODE] button is highlighted: 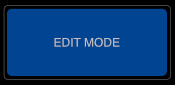
Edit Mode takes effect when the Preset Menu closes. The page is rebuilt at that moment, so the placeholders on the Performance page appear once you leave the window, not while you are still looking at the menu.
User Functions
User Functions are custom Lua functions defined by the preset developer to provide additional actions or behaviors tailored to the preset. These functions are registered in the preset’s Lua script using the preset.userFunctions table.

Up to twelve functions can be registered per preset, one for each knob, each represented as a button in the Preset Menu. A function's name can be up to 20 characters long.
- Buttons with an assigned user function are shown in blue
- Tapping a button on the touchscreen triggers the corresponding function
- If enabled in the controller’s configuration (see
Knob touch selectionsunder Settings → Interface), touching the corresponding knob can also trigger the function.
There are two more ways to run a user function without opening the Preset Menu at all:
- Hold the Alt button and touch the knob the function belongs to. This is the quickest way to use user functions while you play. See Button mode for how to get an Alt button.
- Press a hardware button you assigned the function to, as described in Assign Buttons.
A user function can close the Preset Menu when it finishes, or leave it open so that you can run it again. The preset author decides this with the function's close field.
User functions can perform virtually any task supported by the Lua environment, such as sending MIDI messages, triggering patch requests, adjusting control states, or interacting with external gear. This makes them a powerful tool for extending the preset's capabilities.
For more information on how to register and implement user functions, see the Preset Lua Extension preset section of the Developer Documentation.
Toggling Preset Menu
The Preset Menu window is designed for quick access and smooth transitions during live use or studio work. You can easily switch between the Preset Menu and your regular preset pages using touch gestures or hardware buttons.
Accessing Preset Menu
There are two ways to open the Preset Menu window on the Electra One controller:
- Swipe Gesture - swipe downward from the left of the screen. This gesture provides quick access without requiring any special configuration.
- Hardware Button Assignment - assign the
Open preset menucommand to any of the controller’s hardware buttons via the button settings. Pressing the assigned button will switch between the current preset page and the Preset Menu window.
Leaving Preset Menu
To return to the regular preset page:
- Swipe down again
- Or press any of the hardware buttons
Either method will close the Preset Menu window and bring you back to your last viewed preset page.