

Version5.0.0 beta
The Concept of Control
Before we go any further, it helps to understand what a control is and how Electra One uses it to talk to your instruments. Everything else in this User Guide builds on the ideas described in this chapter, so it is worth a few minutes.
What a control is
A preset is a set of pages, and each page shows a number of controls. A control is one thing you see on the screen and change with your hands: a fader, a dial, a list of options, a pad you switch on and off, an envelope, and so on.
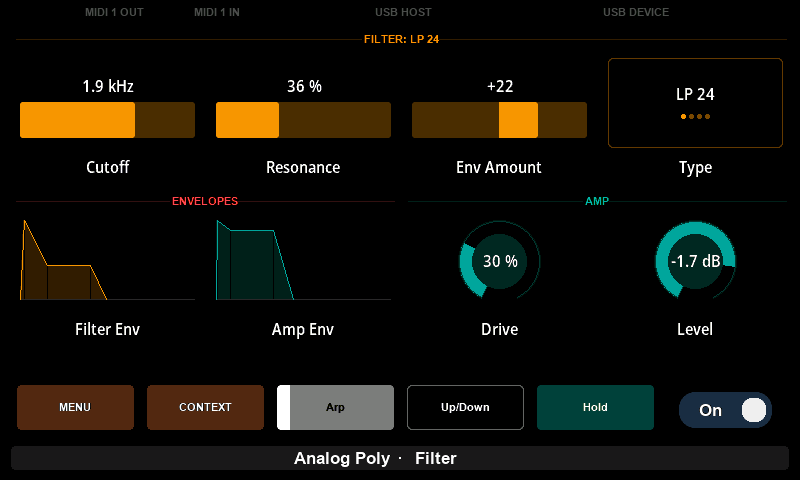
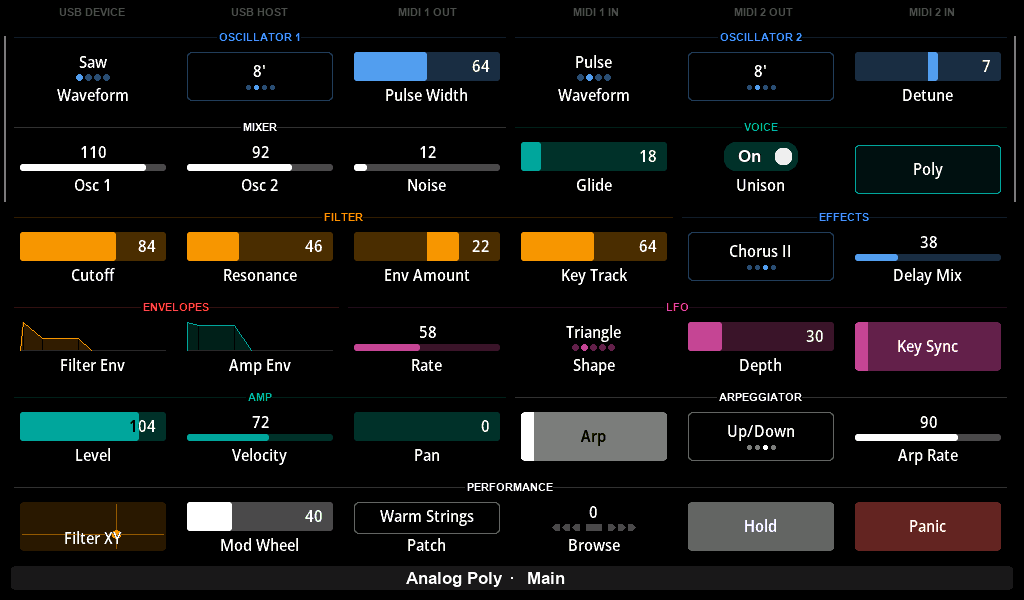
Every control does two things:
- It sends. When you turn its knob (or touch it on the Mk2), the control changes its value and sends a MIDI message to your instrument. Turn
Cutoffand your synthesizer's filter opens. - It listens. When the same MIDI message arrives from your instrument, for example because you turned the cutoff knob on the synthesizer itself, the control updates to show the new value. The screen always shows what your instrument is really doing.
Each control remembers a small set of settings: what it looks like (its type, name and colour), which MIDI message it sends, and the range of its value. You make these settings in the preset editor. Controls can be arranged freely, so one preset can mirror a synthesizer's panel, or bring together the most important parameters of your whole MIDI setup on one page.
Controls, devices and MIDI
A control does not send its message into thin air. It sends it to a device. A device stands for one of your instruments: it has a name, the MIDI port of Electra One it is connected to, and the MIDI channel it listens on.
All controls for a synthesizer use the same device, or multiple devices in the case of a multi-timbral instrument If you move the synthesizer to another port or channel, you change it in one place, the device, and every control follows. You will learn more about devices, ports and channels in the next chapter, Devices.
The display value and the MIDI value
A control works with two numbers:
- The MIDI value is the number that travels in the MIDI message. For most parameters it goes from 0 to 127.
- The display value is the number you see on the screen.
Often the two are the same. Sometimes a different number makes more sense to the person turning the knob. A pan control is a good example: the synthesizer expects 0 to 127, but "left 50, centre 0, right 50" is much easier to read. In the preset you set the display range to -50 to 50 and the MIDI range to 0 to 127, and Electra One translates between them in both directions.
| What you see (display value) | What is sent (MIDI value) |
|---|---|
| -50 (fully left) | 0 |
| 0 (centre) | 64 |
| 50 (fully right) | 127 |
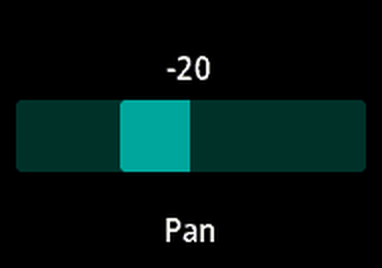
When a fader's display range goes below zero, the fader fills from zero outwards: to the right for positive values and to the left for negative ones.
If a number is still not the clearest way to show a value, a control can show text instead. You will meet overlays, which give values names such as "Saw" or "Square", and formatters, which turn a value into any text you like, further down this page.
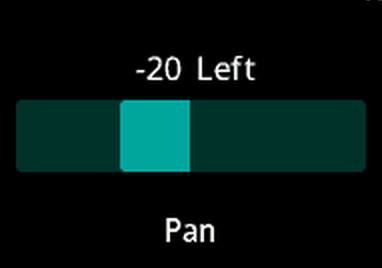
Control types
The type of a control decides how it looks and how its knob behaves. Electra One offers the following types:
| Type | Use it for |
|---|---|
| Fader | a parameter with a range of values, such as cutoff or level |
| List | a parameter with named options, such as a waveform |
| Pad | something that is on or off, or a button that triggers a message |
| Envelope | an envelope with several stages, such as ADSR |
| XY Pad | two parameters that belong together, such as cutoff and resonance |
| V Fader 4 | four related levels side by side, such as a mixer |
| Relative | a parameter that expects "turn up" and "turn down" steps |
| Text box | a name or other text, such as a patch name |
| Custom | anything you design yourself with Lua |
Some types come in variants. A variant looks different, but works the same way. You choose the type and the variant when you add a control in the editor.
Fader
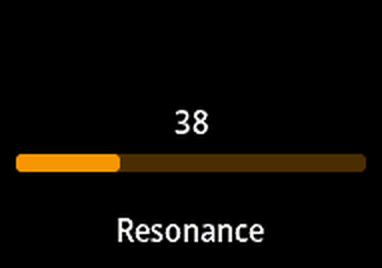
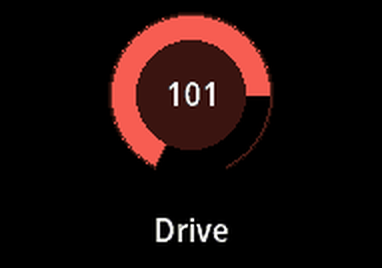
A fader is the most common control. It shows a value from a range, from a minimum to a maximum, and turning the knob moves smoothly through that range. Typical examples are filter cutoff, resonance, detune or volume.
Faders come in three variants:
| Default | Thin | Dial |
|---|---|---|
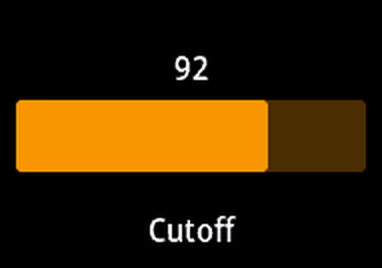 |  |  |
- Default shows a full-size bar.
- Thin shows a slim bar under a larger value.
- Dial draws a knob, with the value in its centre. On the Mk2, where a control has less room, a dial leaves out its name, so it works best where the group label already says what it is.
A fader can also be bipolar or unipolar. A bipolar fader (the default) fills from zero, as described above. A unipolar fader always fills from the left, even when its range starts below zero.
List
A list is for a parameter whose values each have a name. A synthesizer might use 0 for "Normal", 16 for "Inverted", 32 for "Normal with dynamics" and so on. Numbers like these mean nothing on their own, so a list shows the names. Turning the knob steps through the options one at a time.
| Default | Value only |
|---|---|
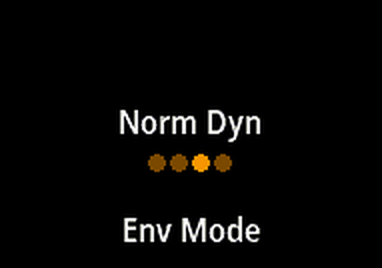 | 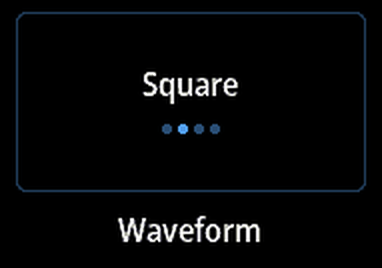 |
- Default shows the name of the selected option with a row of dots, one dot per option. A long list shows a bar instead of dots.
- Value only shows the option in a box, like a button.
The names and their MIDI values are stored in an overlay, a small table that pairs each value with a label. One overlay can be shared by many controls, for example all the waveform selectors of a synthesizer. If the instrument sends a value that is not in the list, the control ignores it.
Pad
A pad is a switch with two states, on and off. When it changes state, it sends its On value or its Off value.
| Toggle | Momentary |
|---|---|
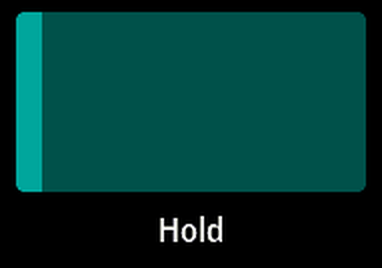 | 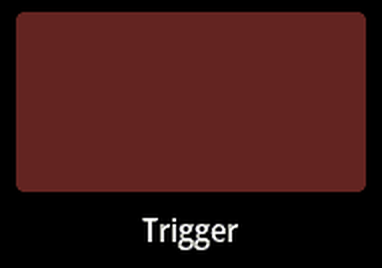 |
A pad works in one of two modes:
- Toggle: the pad stays on until you switch it off again. Good for things like "Hold" or "Unison".
- Momentary: the pad is on only while you hold it, and switches off when you let go. Good for triggering things.
You can switch a pad with the knob, too. Turning the knob clockwise switches it on, and turning it anticlockwise switches it off. On the Mk2 you can also touch the pad on the screen.
Pads have three variants:
| Default | Checkbox | Value only |
|---|---|---|
| 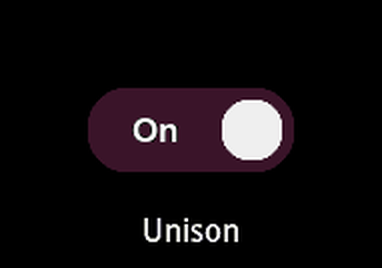 |  |
- Default is a coloured pad with its name.
- Checkbox looks like an on/off switch.
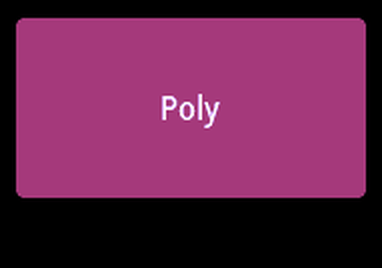
- Value only shows a word for each state instead of the name, for example "Mono" when it is off and "Poly" when it is on. The words come from an overlay.
A pad does not have to send a Control Change. A pad that sends a Note plays a note, a pad that sends a Program Change switches your synthesizer to a program, and a pad that sends a SysEx message can trigger any function your instrument offers.
Controls on the Mini's buttons
On Electra One Mini, the four buttons under the screen can hold controls too: pads and lists. They show up in the row at the bottom of the screen. See Overview.

Envelopes
Envelope controls show the shape of an envelope and let you adjust all of its stages. Each stage, such as Attack or Decay, has its own value and its own MIDI message, and the picture updates when you change a stage or when the instrument sends new values.
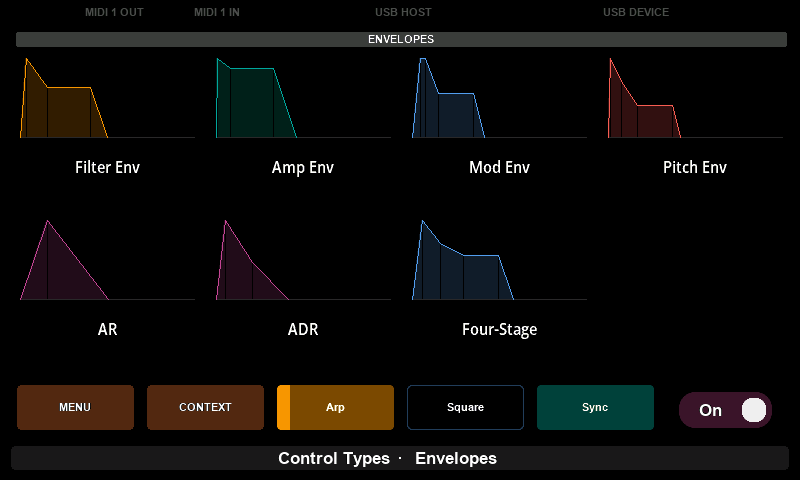
Electra One offers six envelope types, so you can pick the one that matches your instrument:
| Type | Stages |
|---|---|
| ADSR | Attack, Decay, Sustain, Release |
| AHDSR | Attack, Hold, Decay, Sustain, Release |
| ADSSR | Attack, Decay, Break, Slope, Sustain, Release |
| AR | Attack, Release |
| ADR | Attack, Decay, Release |
| Four-Stage | four levels and four rates, as on classic FM synthesizers |
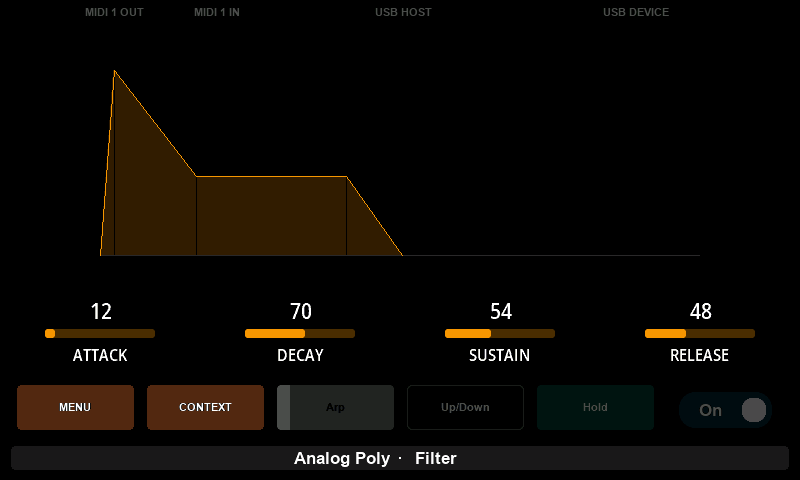
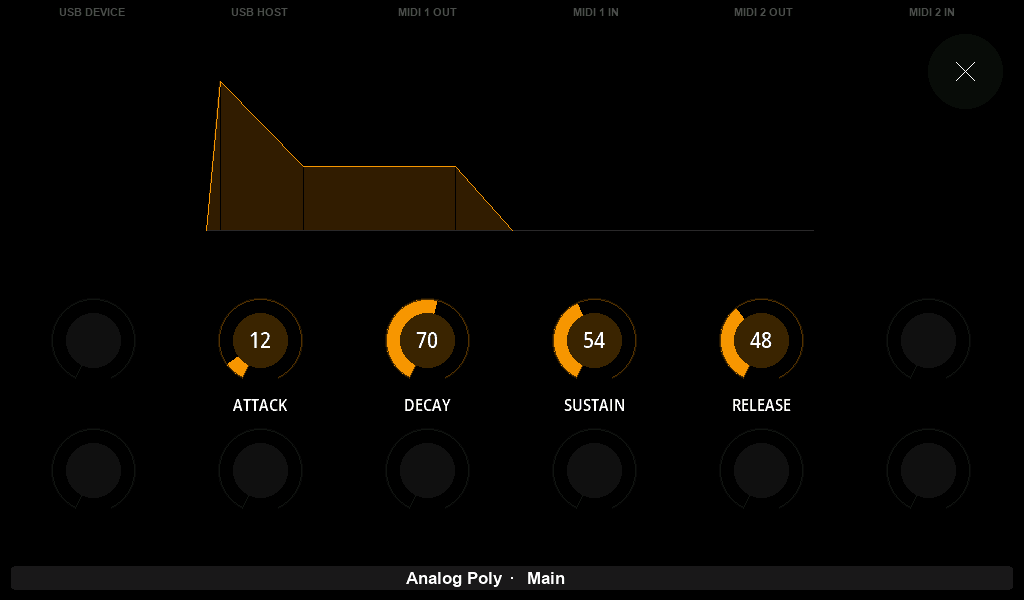
An envelope has more stages than its knob can move at once, so the knob changes one stage at a time. While you hold the knob, you can switch to the next stage. To see and change all stages together, open the envelope's detail window. There, every stage gets a knob of its own:
XY Pad
An XY Pad combines two parameters in one control: one on the horizontal axis (X) and one on the vertical axis (Y). The dot shows both values at once. It is ideal for parameters that are often changed together, such as cutoff and resonance.
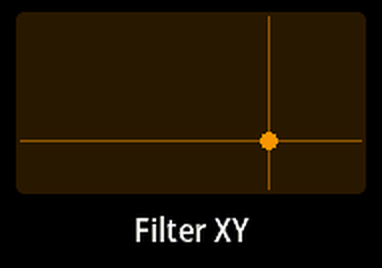
The knob changes one axis at a time. On the Mk2 you can open the XY Pad's detail window and drag your finger across it to change both values in one movement.
V Fader 4
A V Fader 4 shows four vertical faders in one control. It is a compact way to show four levels that belong together, such as the levels of four oscillators or the four sends of a mixer channel.
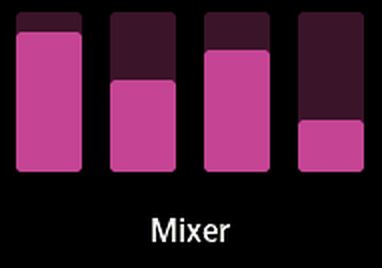
Relative
Most controls send the value itself: "set the cutoff to 92". Some software and some instruments expect steps instead: "a little higher", "a little lower". A Relative control sends exactly that.
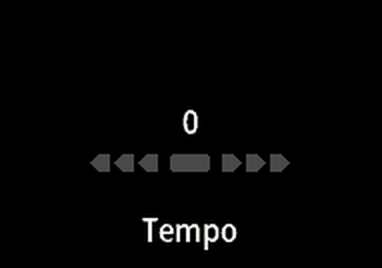
A relative control does not know the parameter's current value, so it does not show one. While you turn the knob, it shows how big a step it sends, and it returns to 0 when you let go. Turn faster and the steps get bigger, if the control is set to accelerate. Because it has no value of its own, it cannot follow incoming MIDI messages.
Text box
A text box shows text rather than a number, such as the name of the patch loaded in your synthesizer. On the Mk2 you can tap it and type with an on-screen keyboard. On the Mini, the knobs move a cursor through the letters.
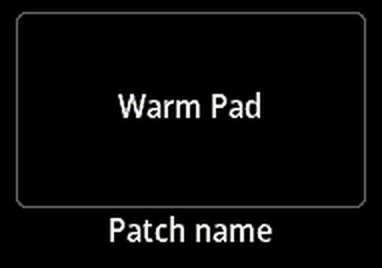
Text boxes are usually filled by the preset itself, for example with a patch name that a Lua script reads from the synthesizer.
Custom controls
Custom controls are controls you design yourself. Their look, and what their knobs do, is written in the preset's Lua script. They are described in Custom controls at the end of this chapter.
Groups
A group is a title that sits above one or more controls and gives a part of the page its name, such as OSCILLATORS, FILTER or ENVELOPES. Groups are not turned by a knob and send nothing. They are there to make a page easy to read at a glance, the way the printed section names on a synthesizer's panel do.
A group can:
- span as many columns as the controls it belongs to,
- be a thin line above the controls, or be 1 row or 2 rows high, in which case it draws a frame around the controls underneath,
- have its own colour, usually the same as its controls, and
- use a variant: the default title, a highlighted title on a filled bar (like
ENVELOPESin the picture of the envelope types above), or a button-like shape that looks like a pad.
Groups that follow a MIDI value
A group can also follow a MIDI parameter, just as a control does. Its title and colour then change with the parameter's value. You link the group to a parameter and to an overlay, and for every value the overlay says which title and which colour the group shows.
In the Analog Poly preset, the FILTER title follows the filter type. When the type changes, whether you choose it on Electra One or on the synthesizer itself, the title says which filter is active and takes on its colour:
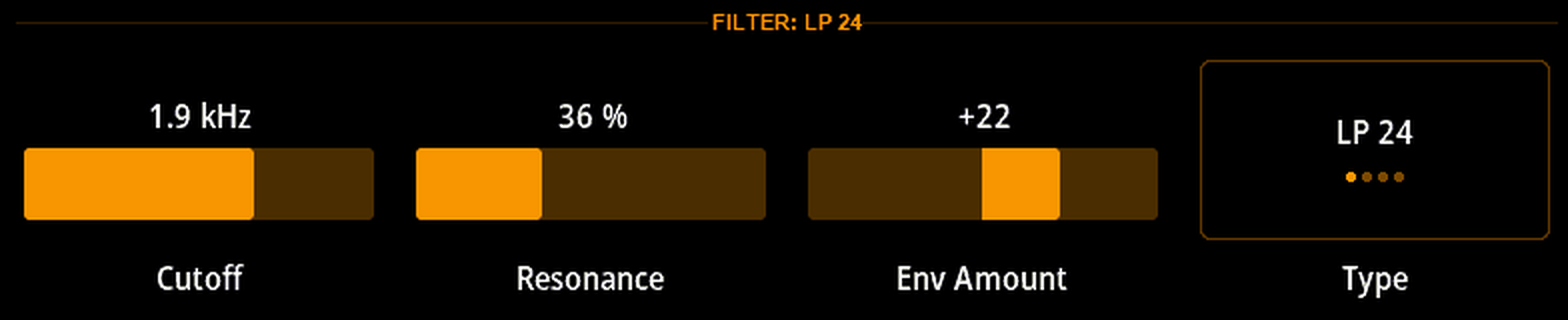
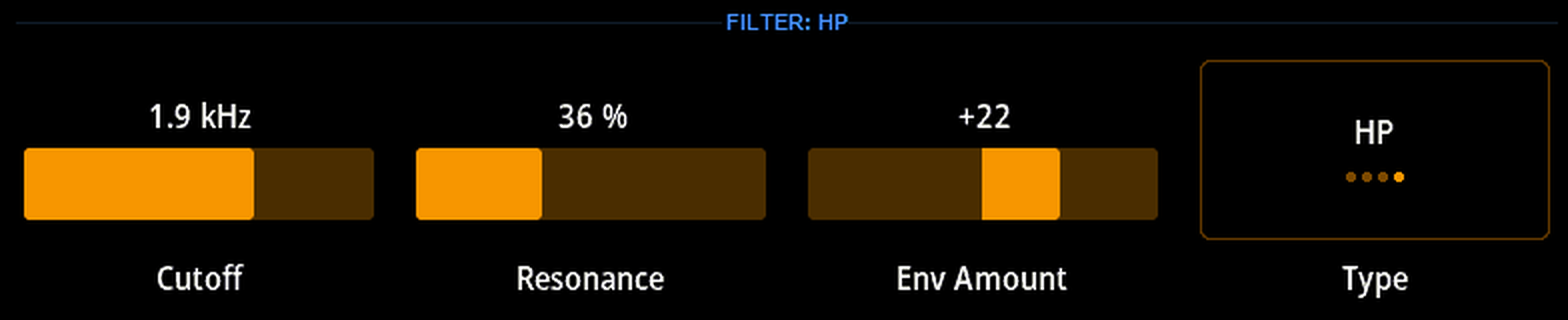
A group that follows a value is useful whenever a section of the page means something different depending on a setting:
- It can show which mode a part of the synthesizer is in, such as the filter type or the oscillator sync.
- It can show which part or layer you are editing, for example
UPPERin one colour andLOWERin another, so you always know which sound the knobs below it change. - It can work as a status light: a button-like group reading
ARP ONin green orARP OFFin grey, following a switch on the instrument.
A group never sends a message, so it only ever shows what the parameter is doing. The control that changes the parameter, here the Type list, can be anywhere in the preset, or it can be a knob on the synthesizer itself. In the editor, you link a group to a parameter in Expert mode.
Which knob moves which control
Every control on a page is linked to a knob. When you place a control in the editor, it gets the knob next to its position on the screen: the control in the top-left slot is moved by the top-left knob, and so on.
Controls with several values, such as envelopes and XY Pads, still have one knob on the page. The knob changes the value that is currently selected, and the detail window gives every value a knob of its own.
Messages
Each value of a control has a message. The message says which MIDI message the value sends and responds to. Electra One supports all the standard MIDI messages:
- Control Change, 7-bit and 14-bit
- NRPN and RPN
- Program Change
- Note On and Note Off
- Pitch Bend
- Channel Pressure and Polyphonic Aftertouch
- System Exclusive (SysEx)
- System Real-Time messages, such as Start and Stop
There are also two messages that send no MIDI at all:
- Virtual: the control has a value, but sends nothing and ignores incoming MIDI. It is useful when a Lua script decides what happens with the value, for example when one knob should change several parameters at once.
- None: works like Virtual, but the value is not stored in Snapshots.
The editor only offers the messages that make sense for a control type. A pad can send a note, for example, but a fader cannot. This restriction can, of course, be overridden by using the Virtual message type and Lua scripting.
A SysEx message can be written directly on the control, or taken from the device's library of device messages, which is handy when many controls use the same format. Where an instrument needs bytes or bits that a fixed message cannot express, such as a calculated checksum, a Lua function can fill them in. The Devices chapter explains both.
Events and actions
Turning a knob changes a control's value. Events let a control react to other things you do with your hands:
- Knob switch: pressing and releasing a knob. On the Mini, the knobs have a push switch. On the Mk2, which has no knob switches, this is touching the control on the screen.
- Knob touch: resting your finger on a knob and taking it off again. The knobs of both the Mk2 and the Mini sense touch.
Each event runs one or more actions:
- Send a MIDI message, for example a Note On while the knob is pressed.
- Run a Lua function from the preset's script.
- Run a command, for example switch to another page or preset, load a snapshot, reset the control to its default value, or open its detail window.
For each event you can choose between Momentary, where pressing runs one set of actions and releasing runs another, and Toggle, where every press switches between the two.
A simple example: give a Cutoff fader a "Knob switch · Press" event with the command Set default value. Turning the knob still changes the cutoff, and pushing the knob returns it to its default value.
Keep in mind that a control with a knob switch event uses the switch only for its events. A pad with such an event, for example, no longer switches on and off when you press its knob. You add events in the editor's Expert mode, on the selected control.
Remote knobs
Your Electra One controls do not have to be moved by Electra's own knobs only. With Remote nobs, the knobs, faders and keys of another MIDI controller can move them too. For example, a small USB controller plugged into the Mini's <USB HOST> port can have its first knob move the Cutoff control.
Each binding says: "this Control Change or Note from the other controller moves this control". When you turn the remote knob:
- the control moves on Electra's screen, on any page, and
- it sends its own message to your instrument, exactly as if you had turned Electra's knob.
Bindings are stored in a remote map, which belongs to one preset slot. You make it in the preset editor on the Surface tab: click a knob of your controller's drawing, choose the message it sends (or let the editor learn it when you move the knob), assign the preset control it should drive, and upload the map to the slot. Messages from the other controller need a route to the remote knobs, which you set up once in the controller's configuration.
A knob on another controller and the value on Electra can disagree, for example after you load a snapshot. The takeover setting decides what happens when you then move the remote knob:
- Jump: the value jumps to the knob's position.
- Pickup: nothing happens until the knob passes the current value.
- Scale: the value moves towards the knob gradually and catches up by the end of its travel.
- Nudge: the value moves by as much as the knob moves.
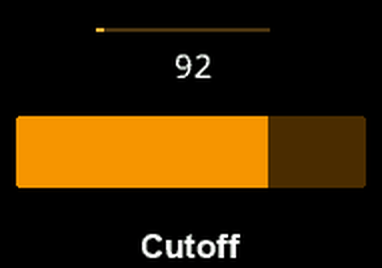
Take Pickup as an example. The Cutoff control below is set to 92, but the remote knob bound to it was left at 30. Turning that knob does not change the cutoff yet. A thin amber line above the control shows the gap: its bright end marks where the remote knob is, and the line reaches to the control's value. As you turn the knob up, the bright end moves along the line. When it reaches 92, the line disappears and from then on the knob moves the cutoff as usual.
Messages that are not in the map are not lost. They reach the preset as usual, so a control listening for that message still reacts.
Lua functions and formatters
Most presets need nothing more than the settings described above. When you want a control to do something special, the preset's Lua script can help. You do not have to be a programmer to use it: many presets in the Preset Library contain ready-made functions you can reuse, and short examples are easy to adapt, especially the help of AI.
- A function runs every time a control's value changes, whether you turned the knob or the instrument sent a new value. With a function, a control can change several parameters at once, show or hide other controls (for example the settings of the oscillator you just selected), switch to another page, or send a message to a second synthesizer.
- A formatter decides the text a control shows. Instead of
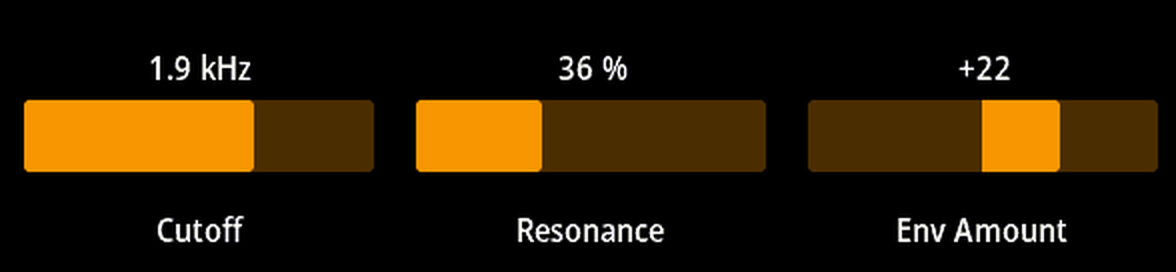
64it can show50 %,C#3,-12 dB,1.2 kHzorOff, whatever makes the value clearest.
Here is the Analog Poly preset from the top of this page, with formatters on its faders and dials. Each value is still 0 to 127 underneath, but the screen shows it in the unit the synthesizer itself uses:
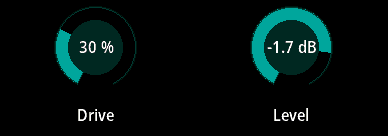
A formatter is only a few lines long. This one shows a 0 to 127 value as a percentage:
lua
function asPercent(valueObject, value)
    return string.format("%d %%", value * 100 // 127)
end
You attach functions and formatters to a control value in the editor. The Preset Lua Extension documentation describes everything a script can do.
Custom controls
A custom control is a blank area of the screen that the preset's Lua script draws. You decide what it looks like and what its knobs and screen touch do, so it can show things no standard control can.
The Filter Designer preset below is built from custom controls. The four ring dials are drawn by Lua, and the wide control underneath draws the filter's response curve. The curve changes shape as you turn Cutoff and Resonance, shows how far the envelope sweeps the cutoff, and follows the filter type chosen on the first button.
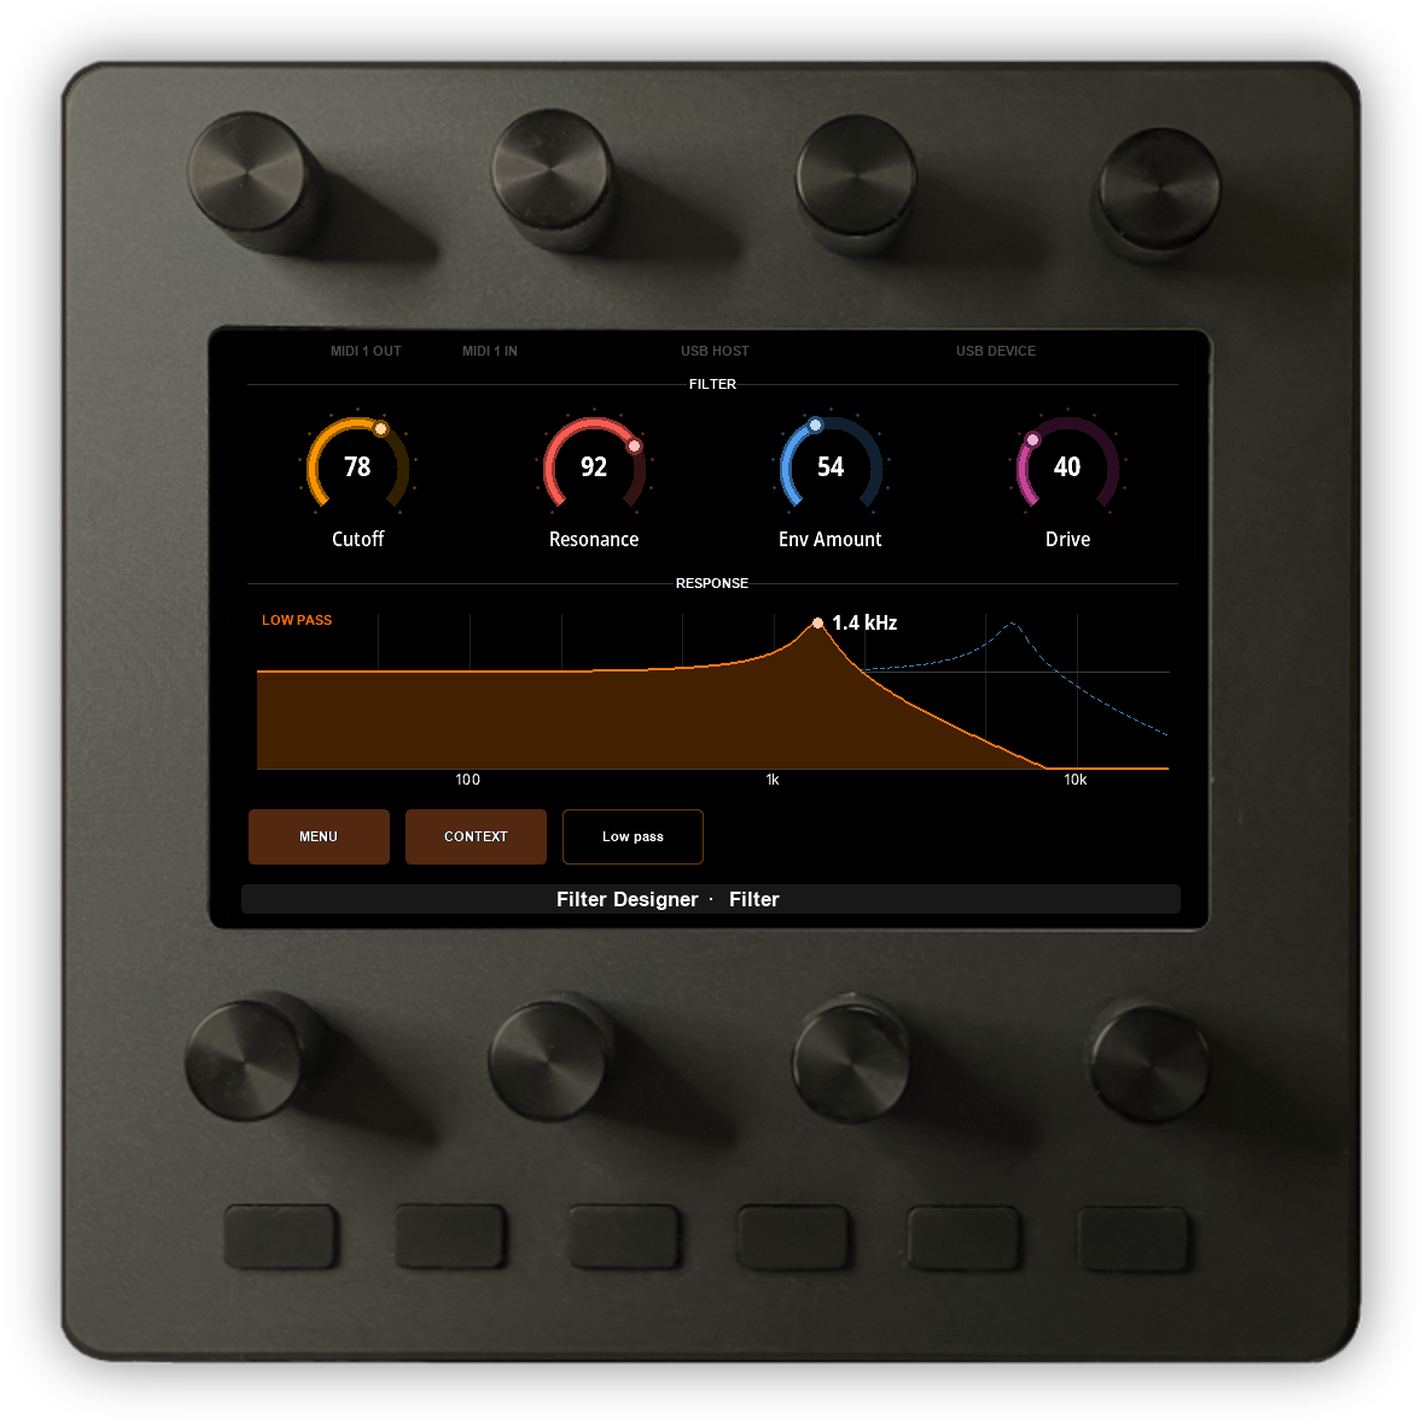
Custom controls are an advanced feature. They are a good choice when you want to visualise something, such as a filter curve, a step sequence or a level meter, or build a control surface for an instrument that works in an unusual way. The Preset Lua Extension documentation explains the drawing functions they use.