

Version5.0.0
Quick Start guide
Thank you for choosing Electra One!
This Quick Start guide applies to both the Electra One mk2 and Electra One Mini.
Electra One is a powerful and versatile MIDI controller that also functions as a USB host and MIDI USB interface. It is designed to streamline your music production workflow and give you hands-on control of your gear. We hope Electra One will meet your expectations.
1. Create your Electra One account
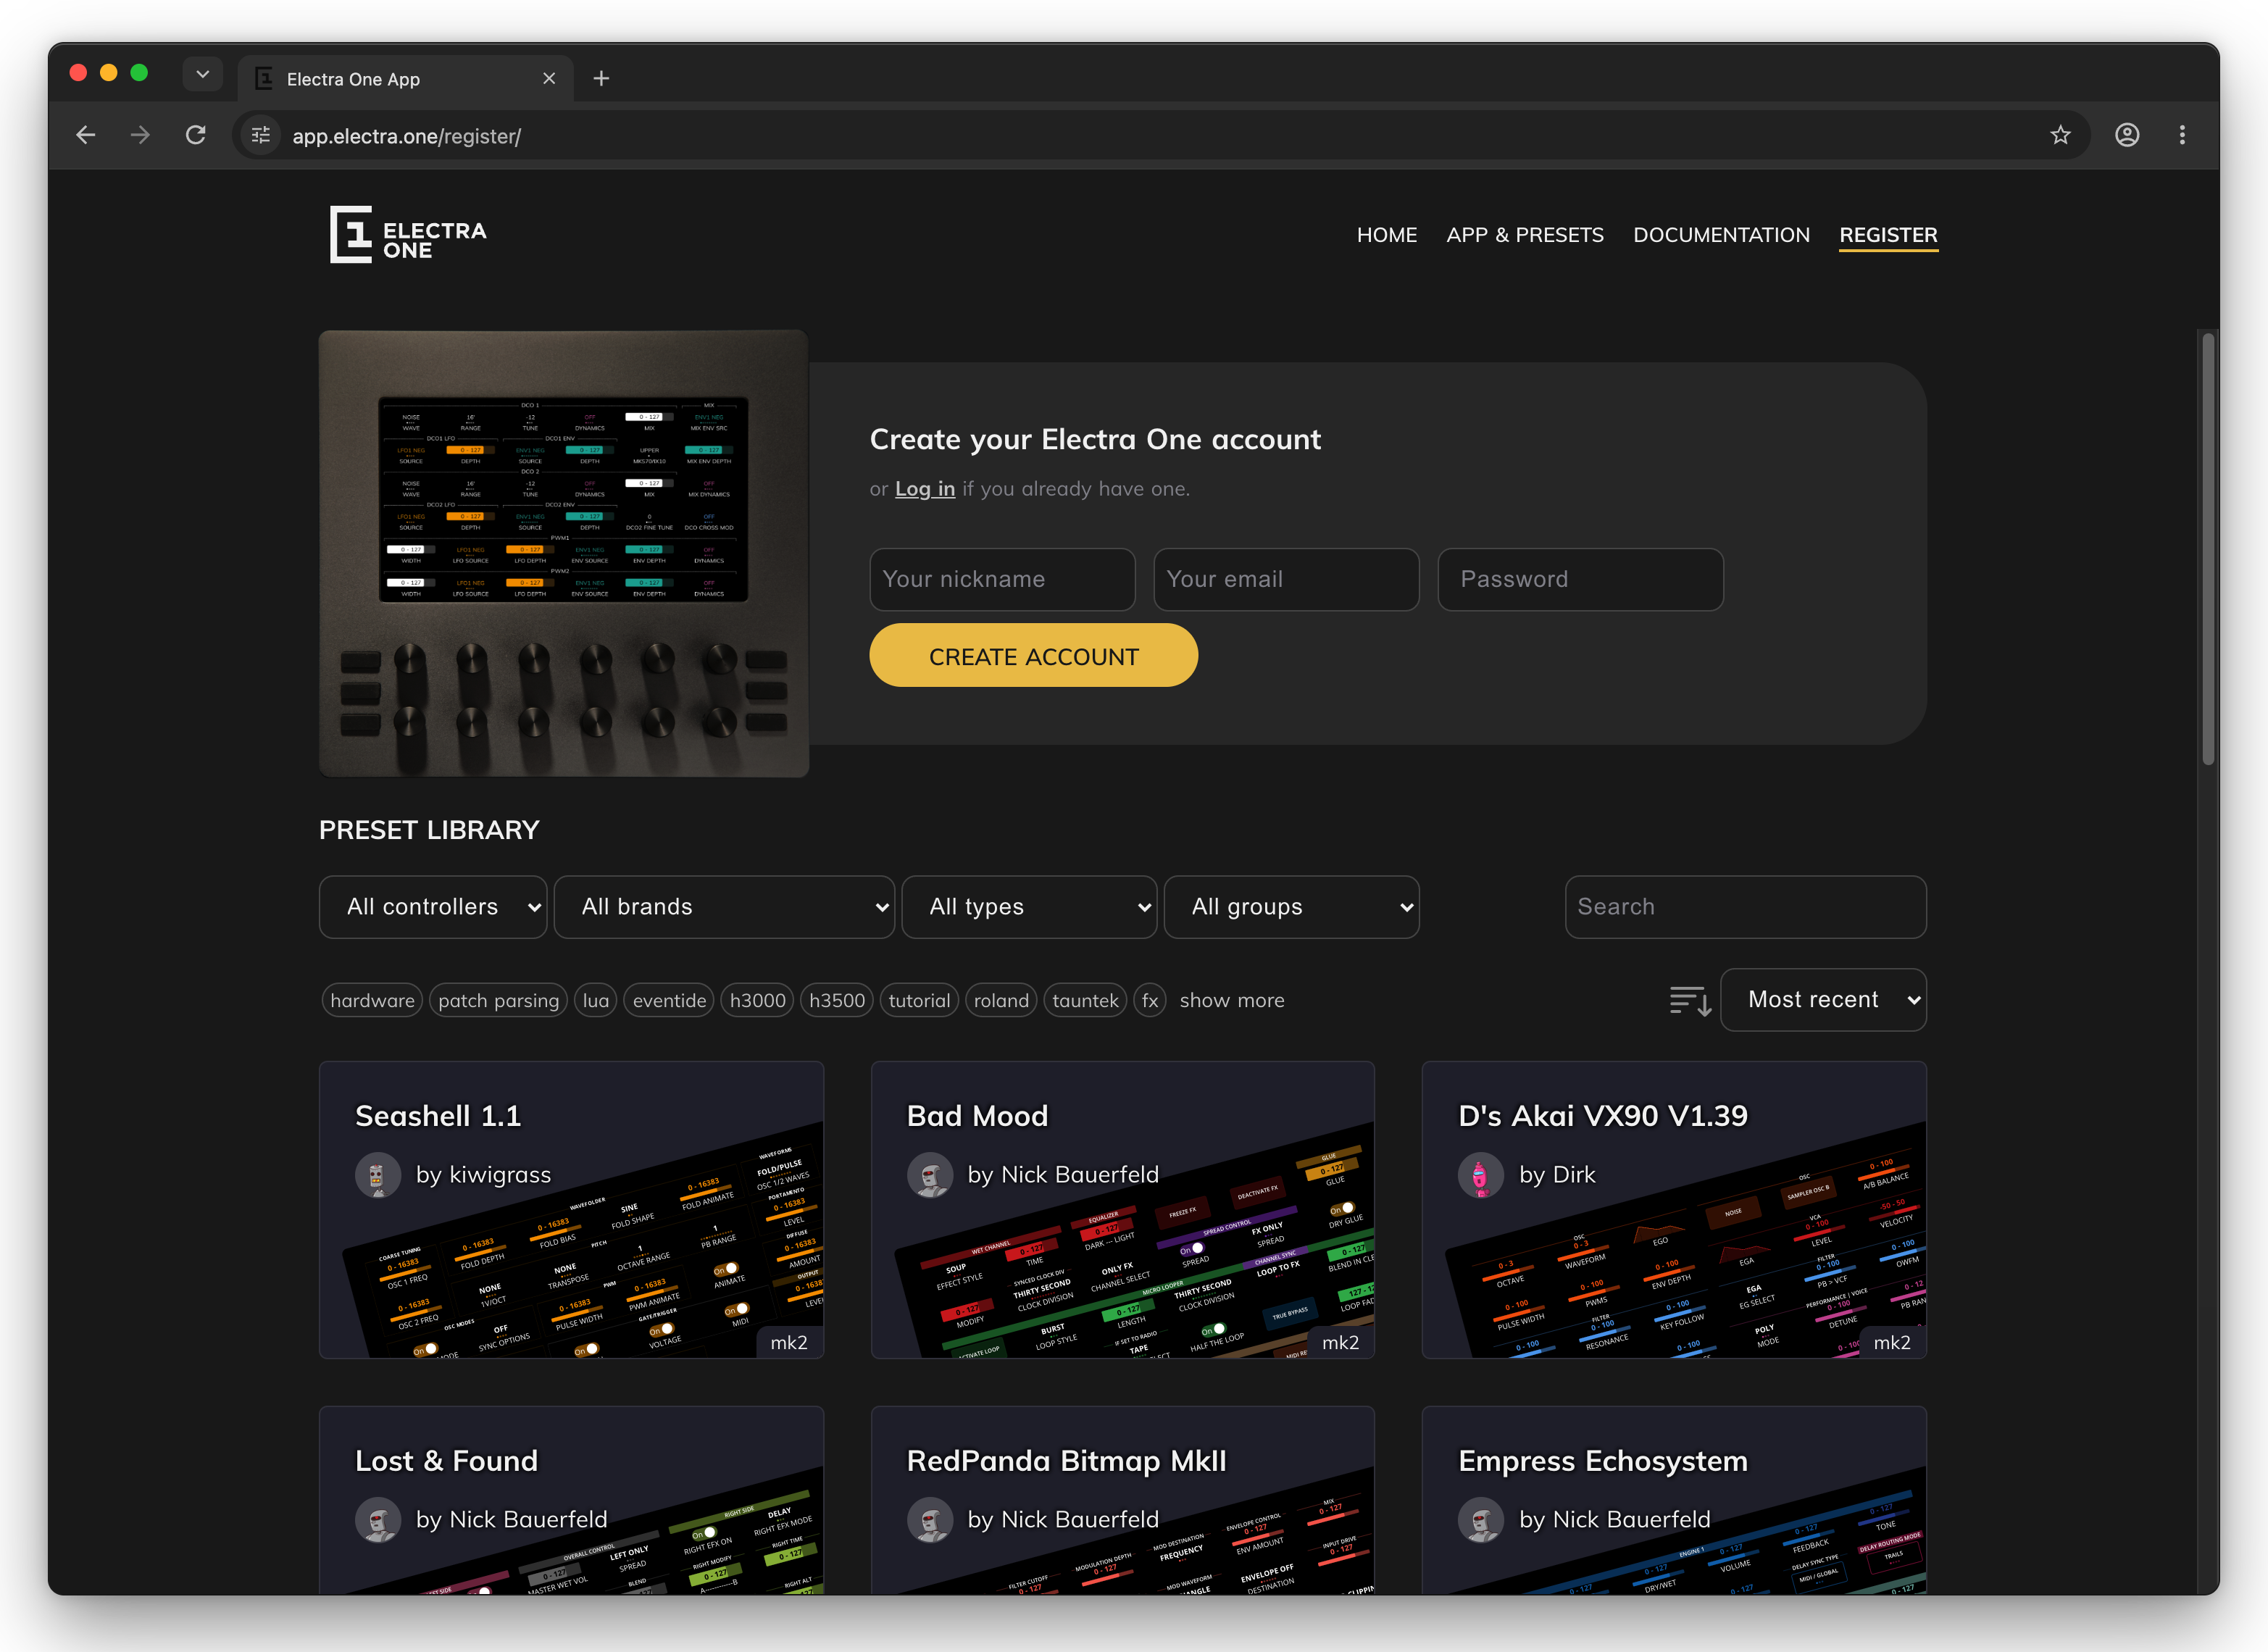
Open Chrome or Edge and go to https://app.electra.one/register. Enter a nickname, your email and a password, and click CREATE ACCOUNT. If you already have an account, click Log in instead. The account gives you access to the preset library and the preset editor.
2. Connect your Electra One controller to your computer
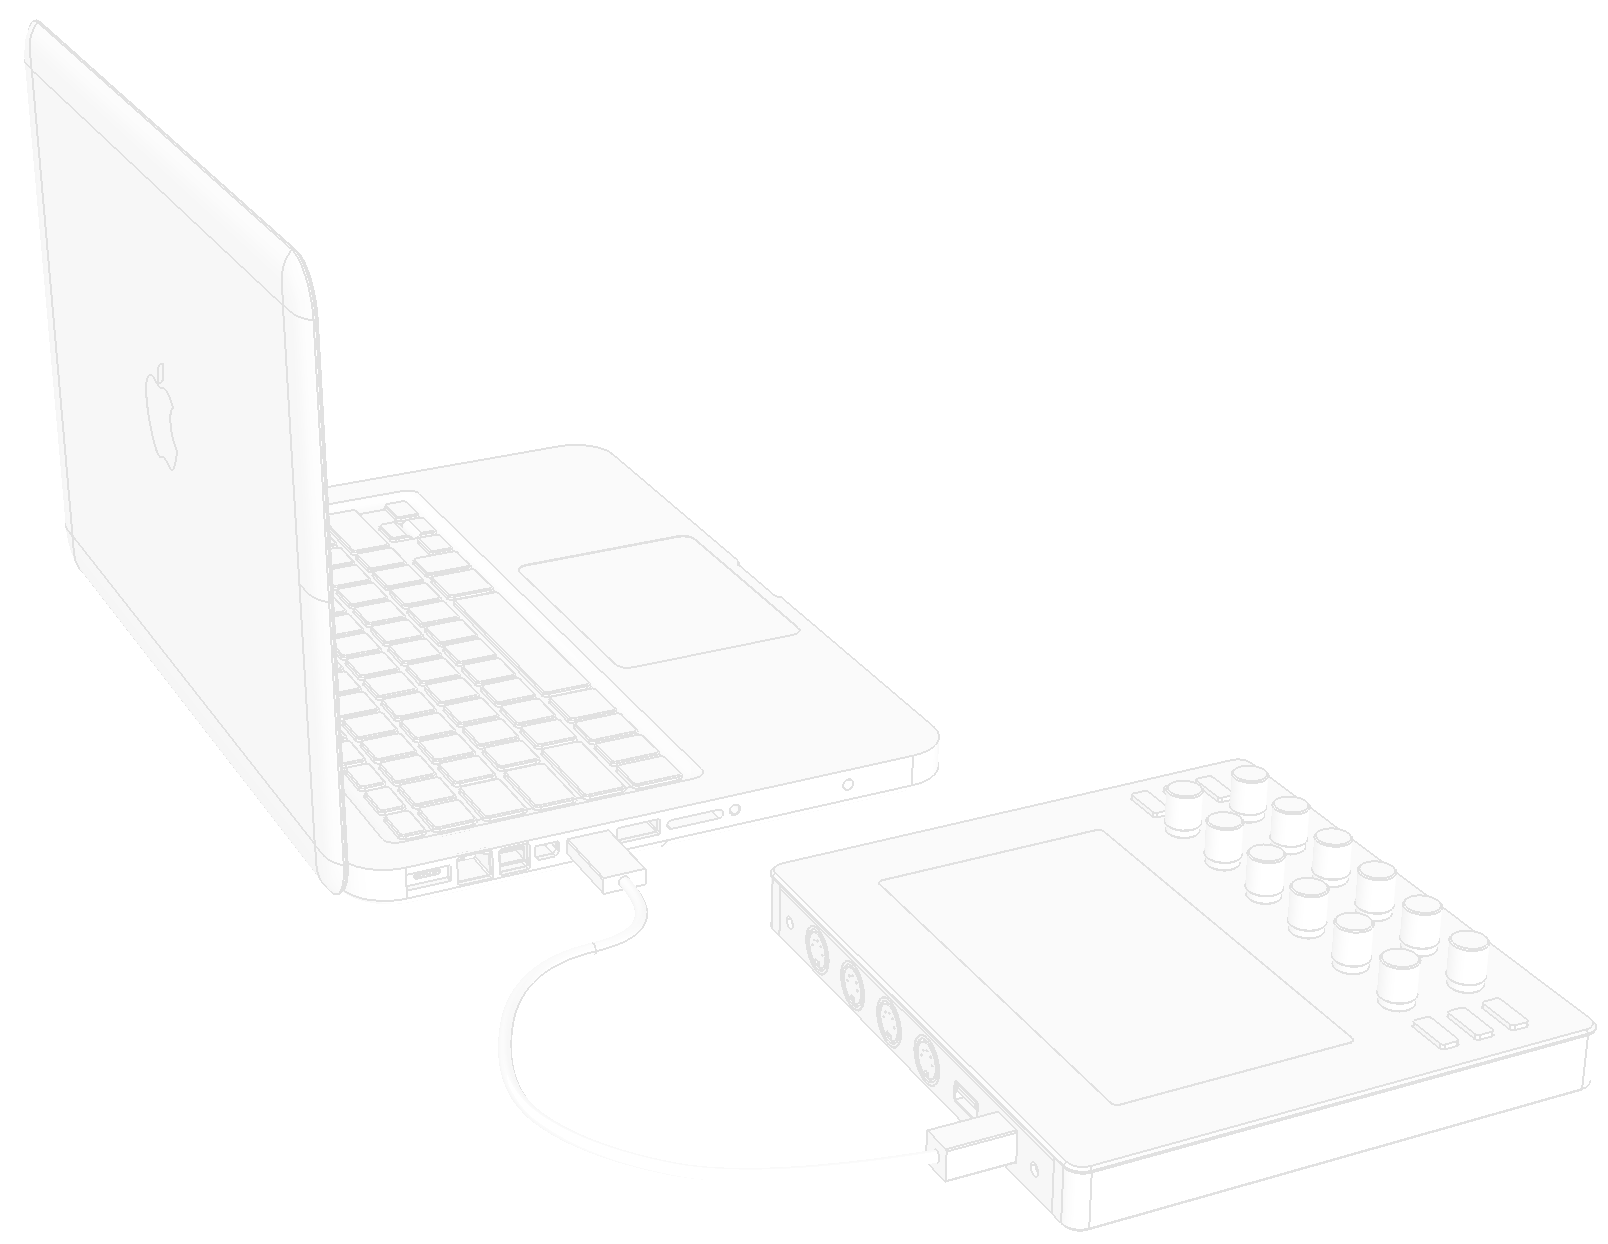
Once you are signed in, use the included USB cable to connect the <USB DEVICE> port of your Electra One to a USB port on your computer.

3. Connect the controller to the web application
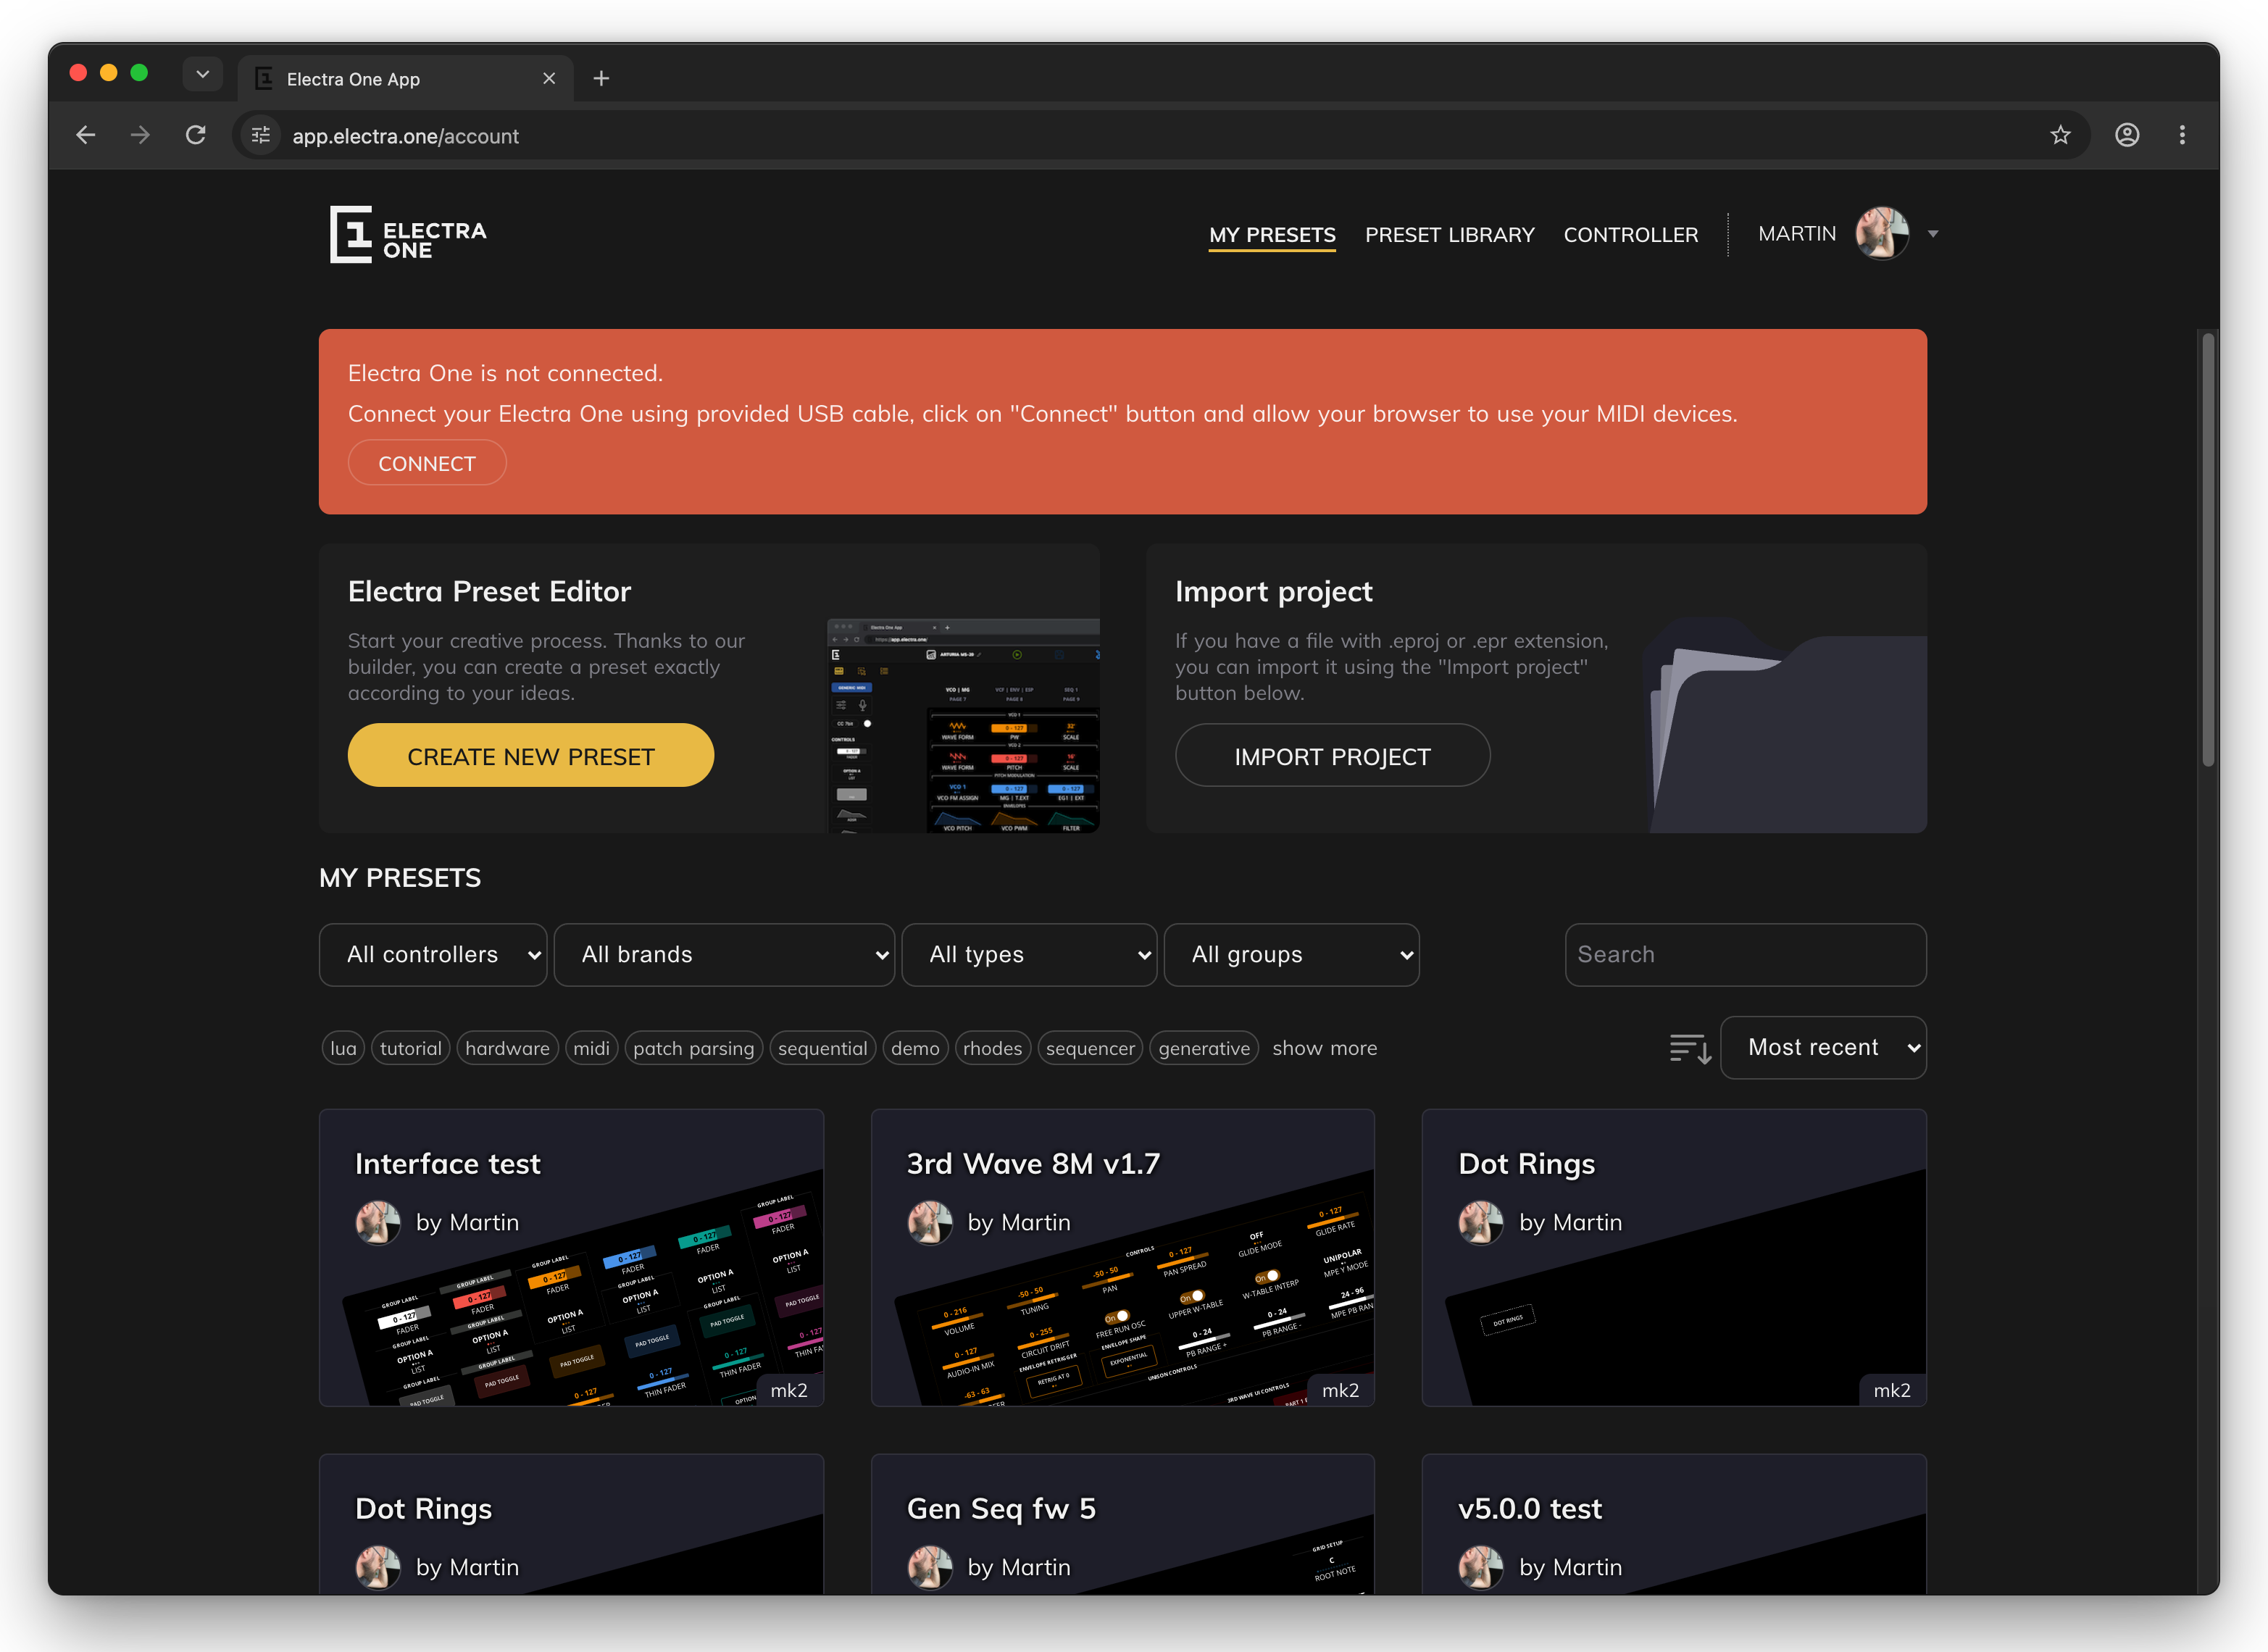
The first time you open the application, MY PRESETS shows a red banner saying that Electra One is not connected. Click its CONNECT button.
4. Allow access to MIDI devices
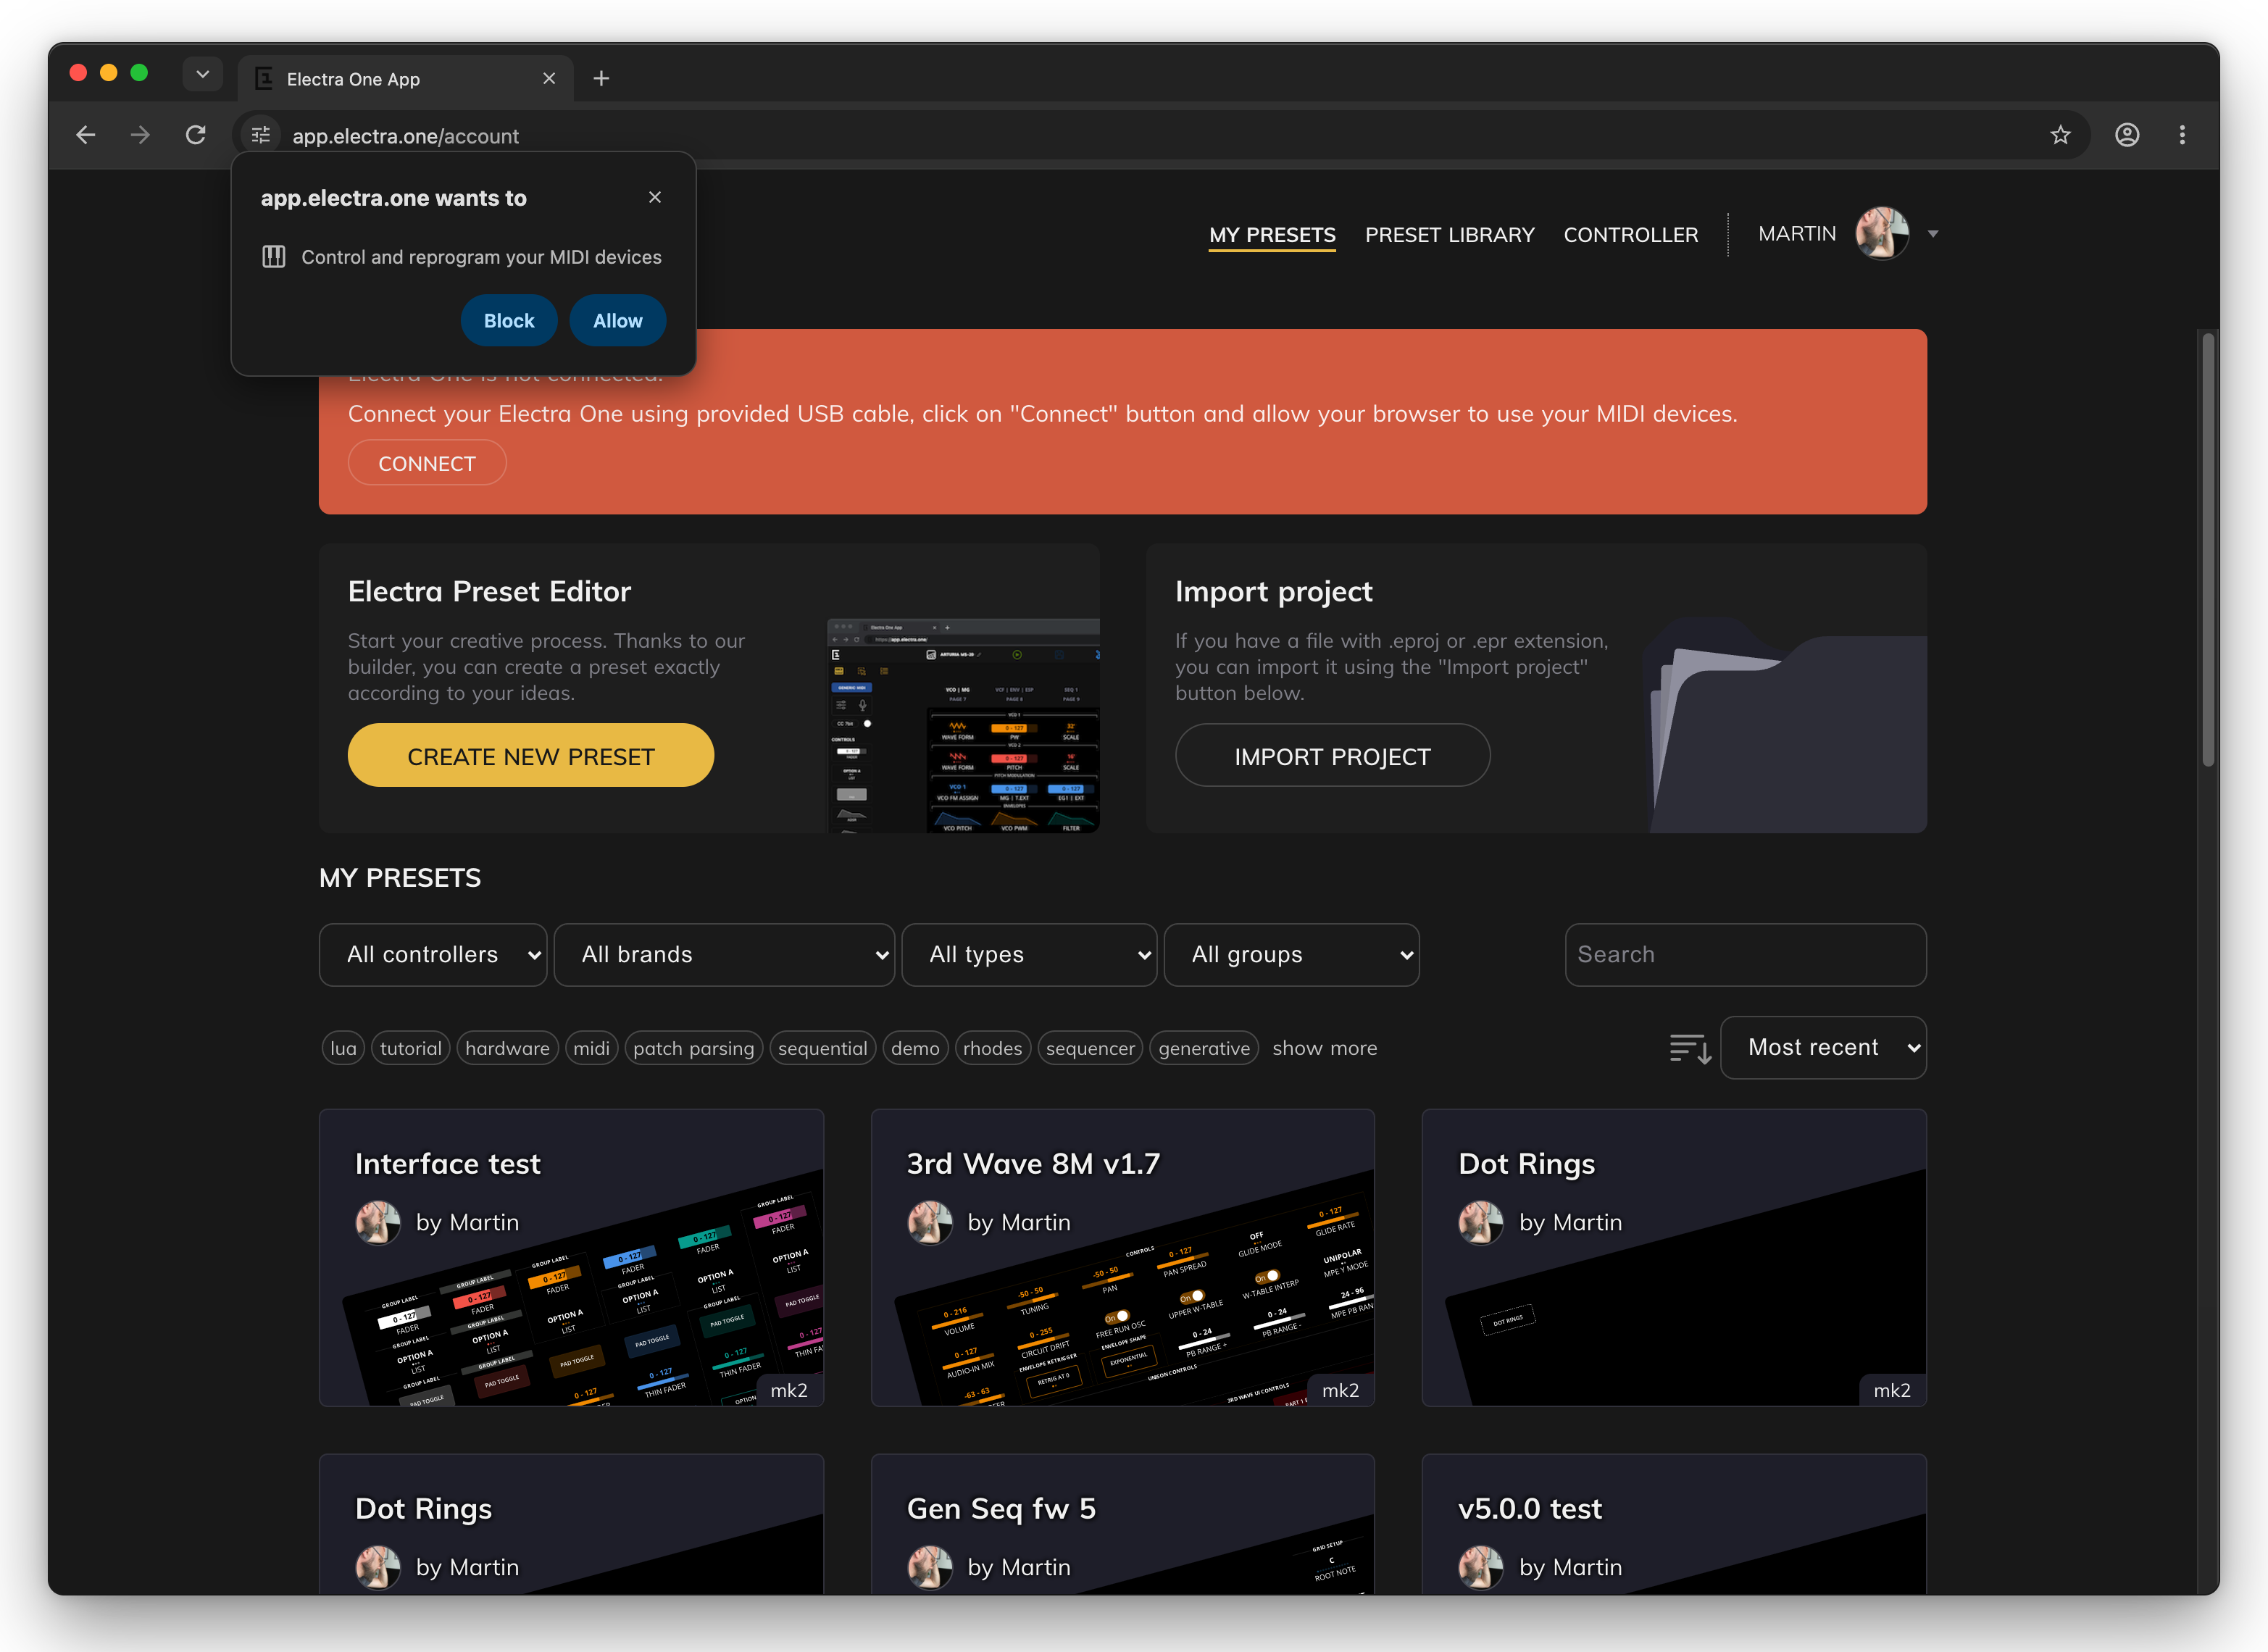
The browser asks whether the site may control and reprogram your MIDI devices. Click Allow. The application talks to Electra One with MIDI System Exclusive messages, and without this permission it cannot reach the controller at all.
If you clicked Block by mistake, the banner changes to ask for the permission again. Click its ENABLE MIDI button, or allow MIDI devices for the site in the browser's site settings (the icon at the left of the address bar), and reload the page.
5. Your Electra is connected
When the controller answers, the red banner disappears and the top menu gains CONTROLLER and CURRENT. From now on the application finds your Electra One by itself whenever it is connected to the computer. Your controller is also linked to your personal account.
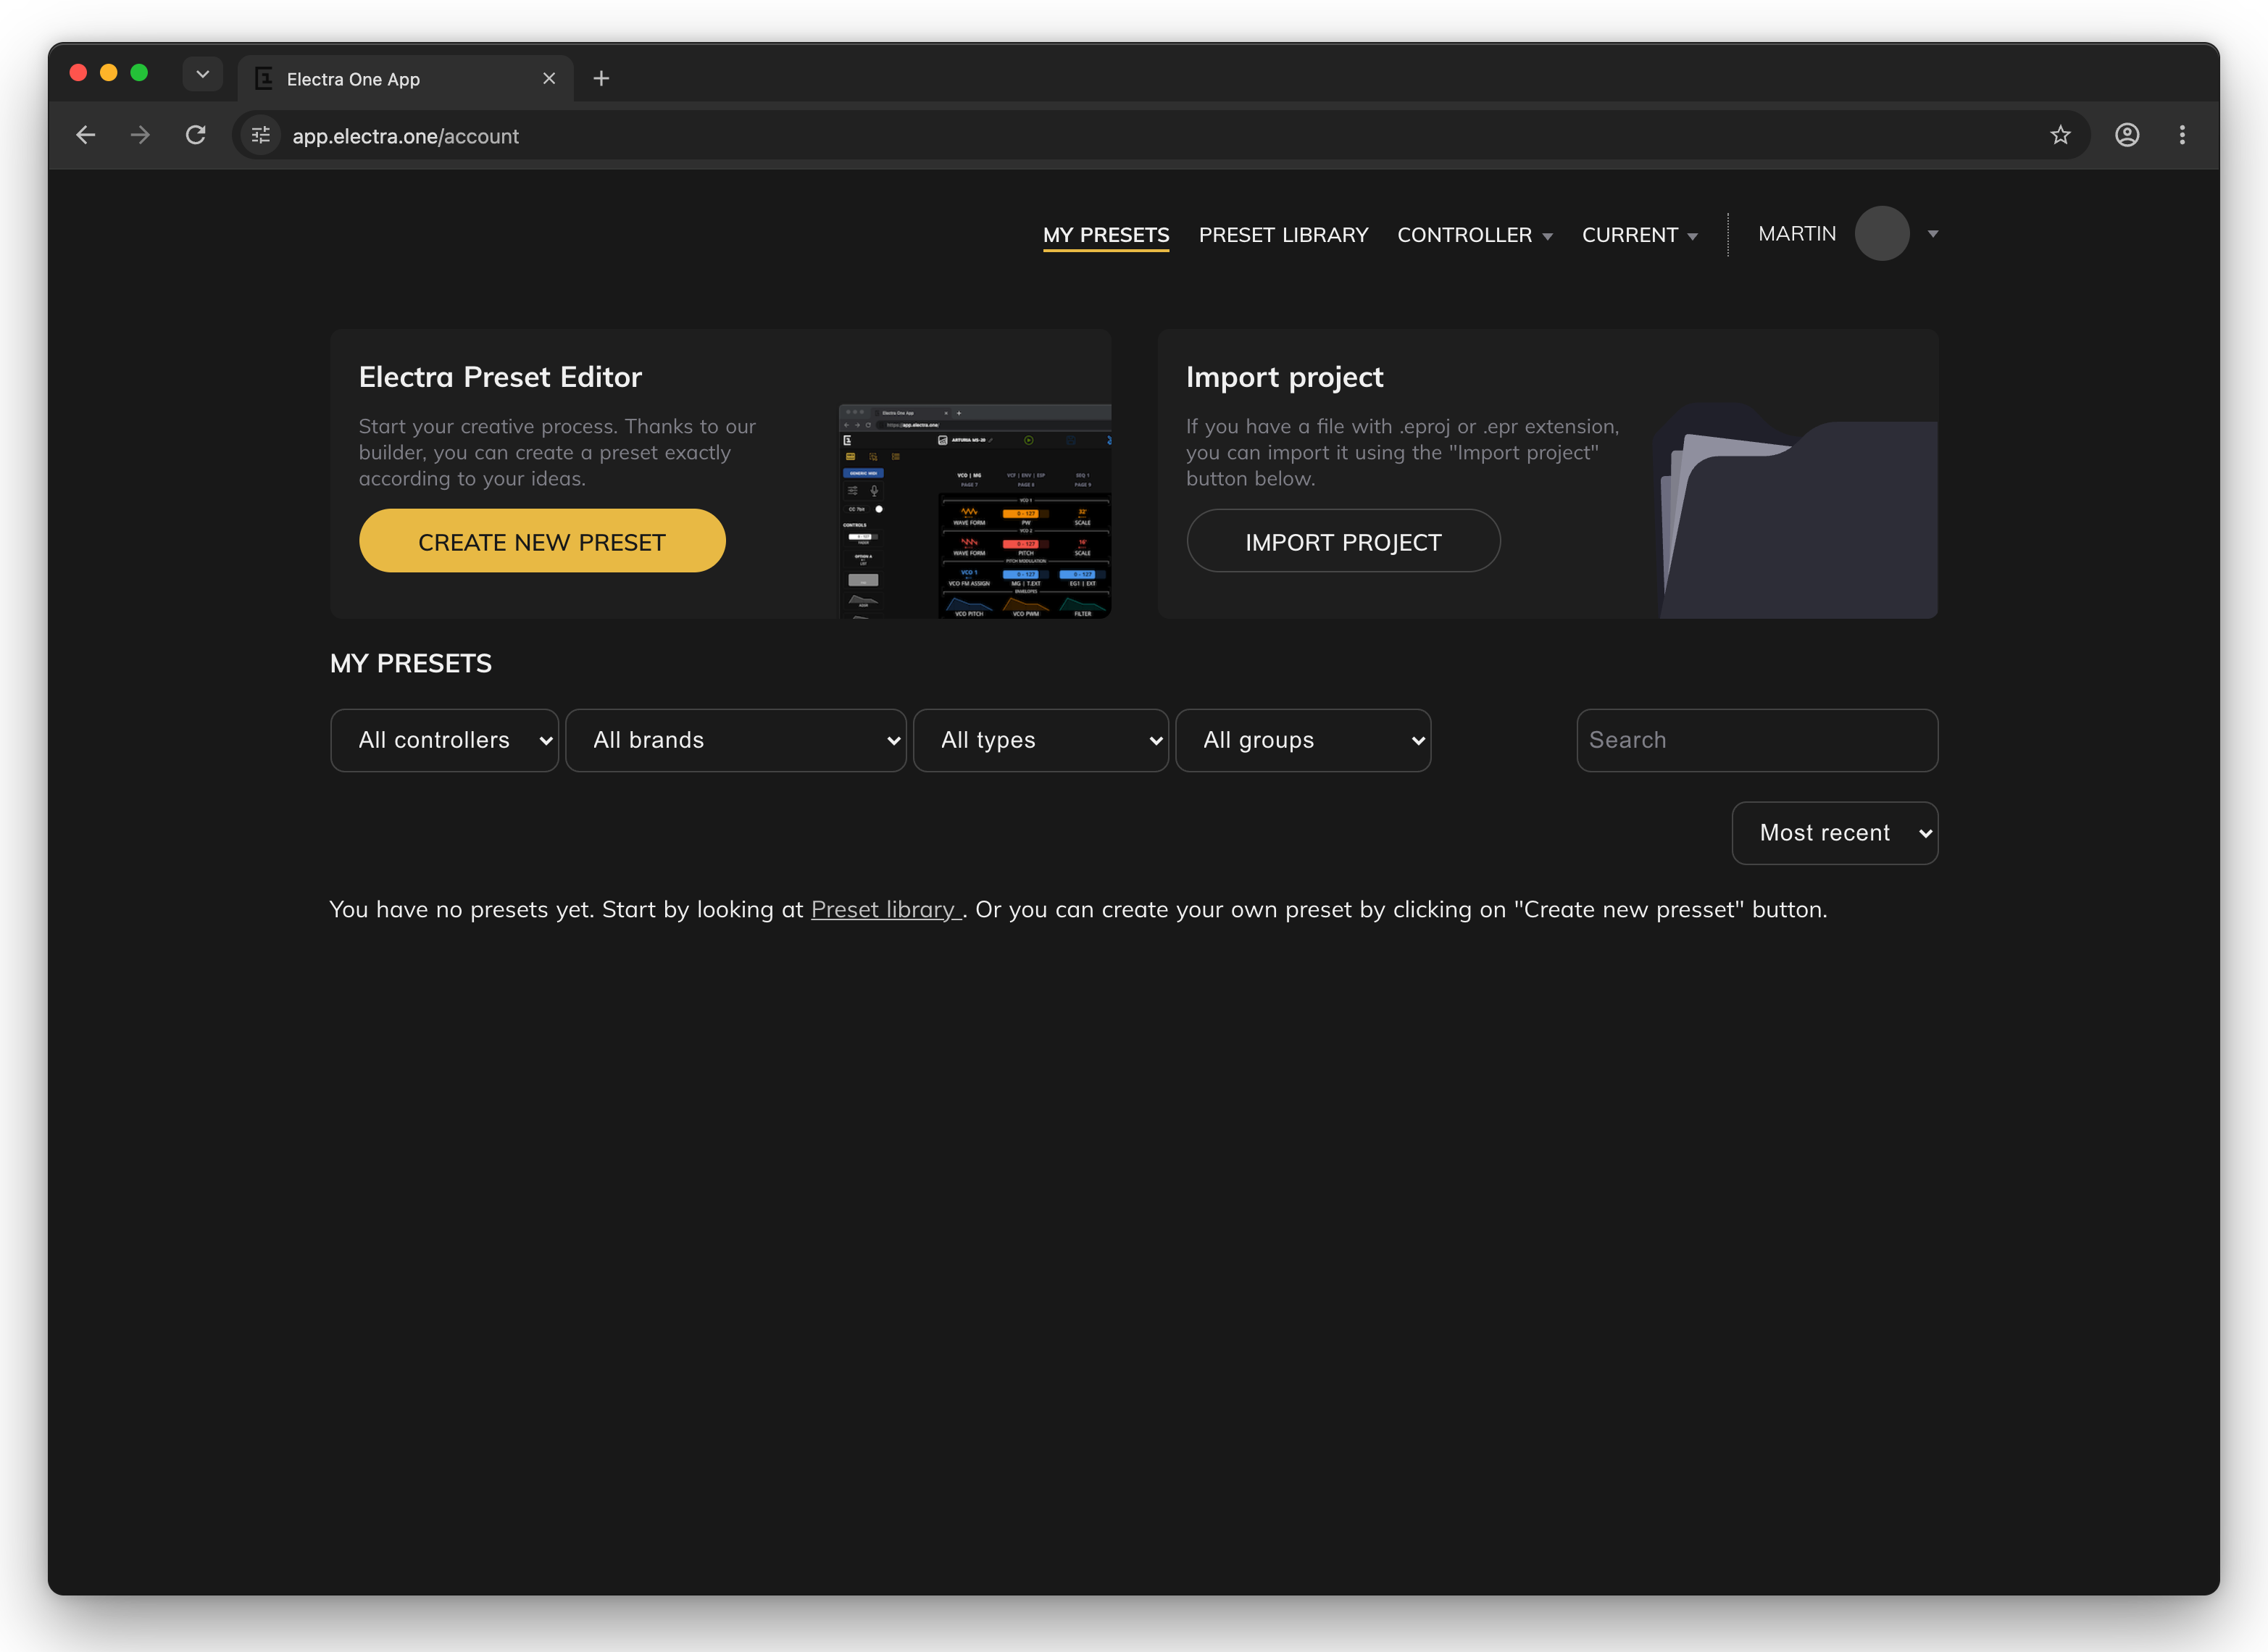
If a grey banner says that your Electra One is not connected, check the USB cable and click SCAN ALL MIDI PORTS. If the controller still cannot be found, see The Connection Troubleshooting Guide.
6. Go to the Preset library
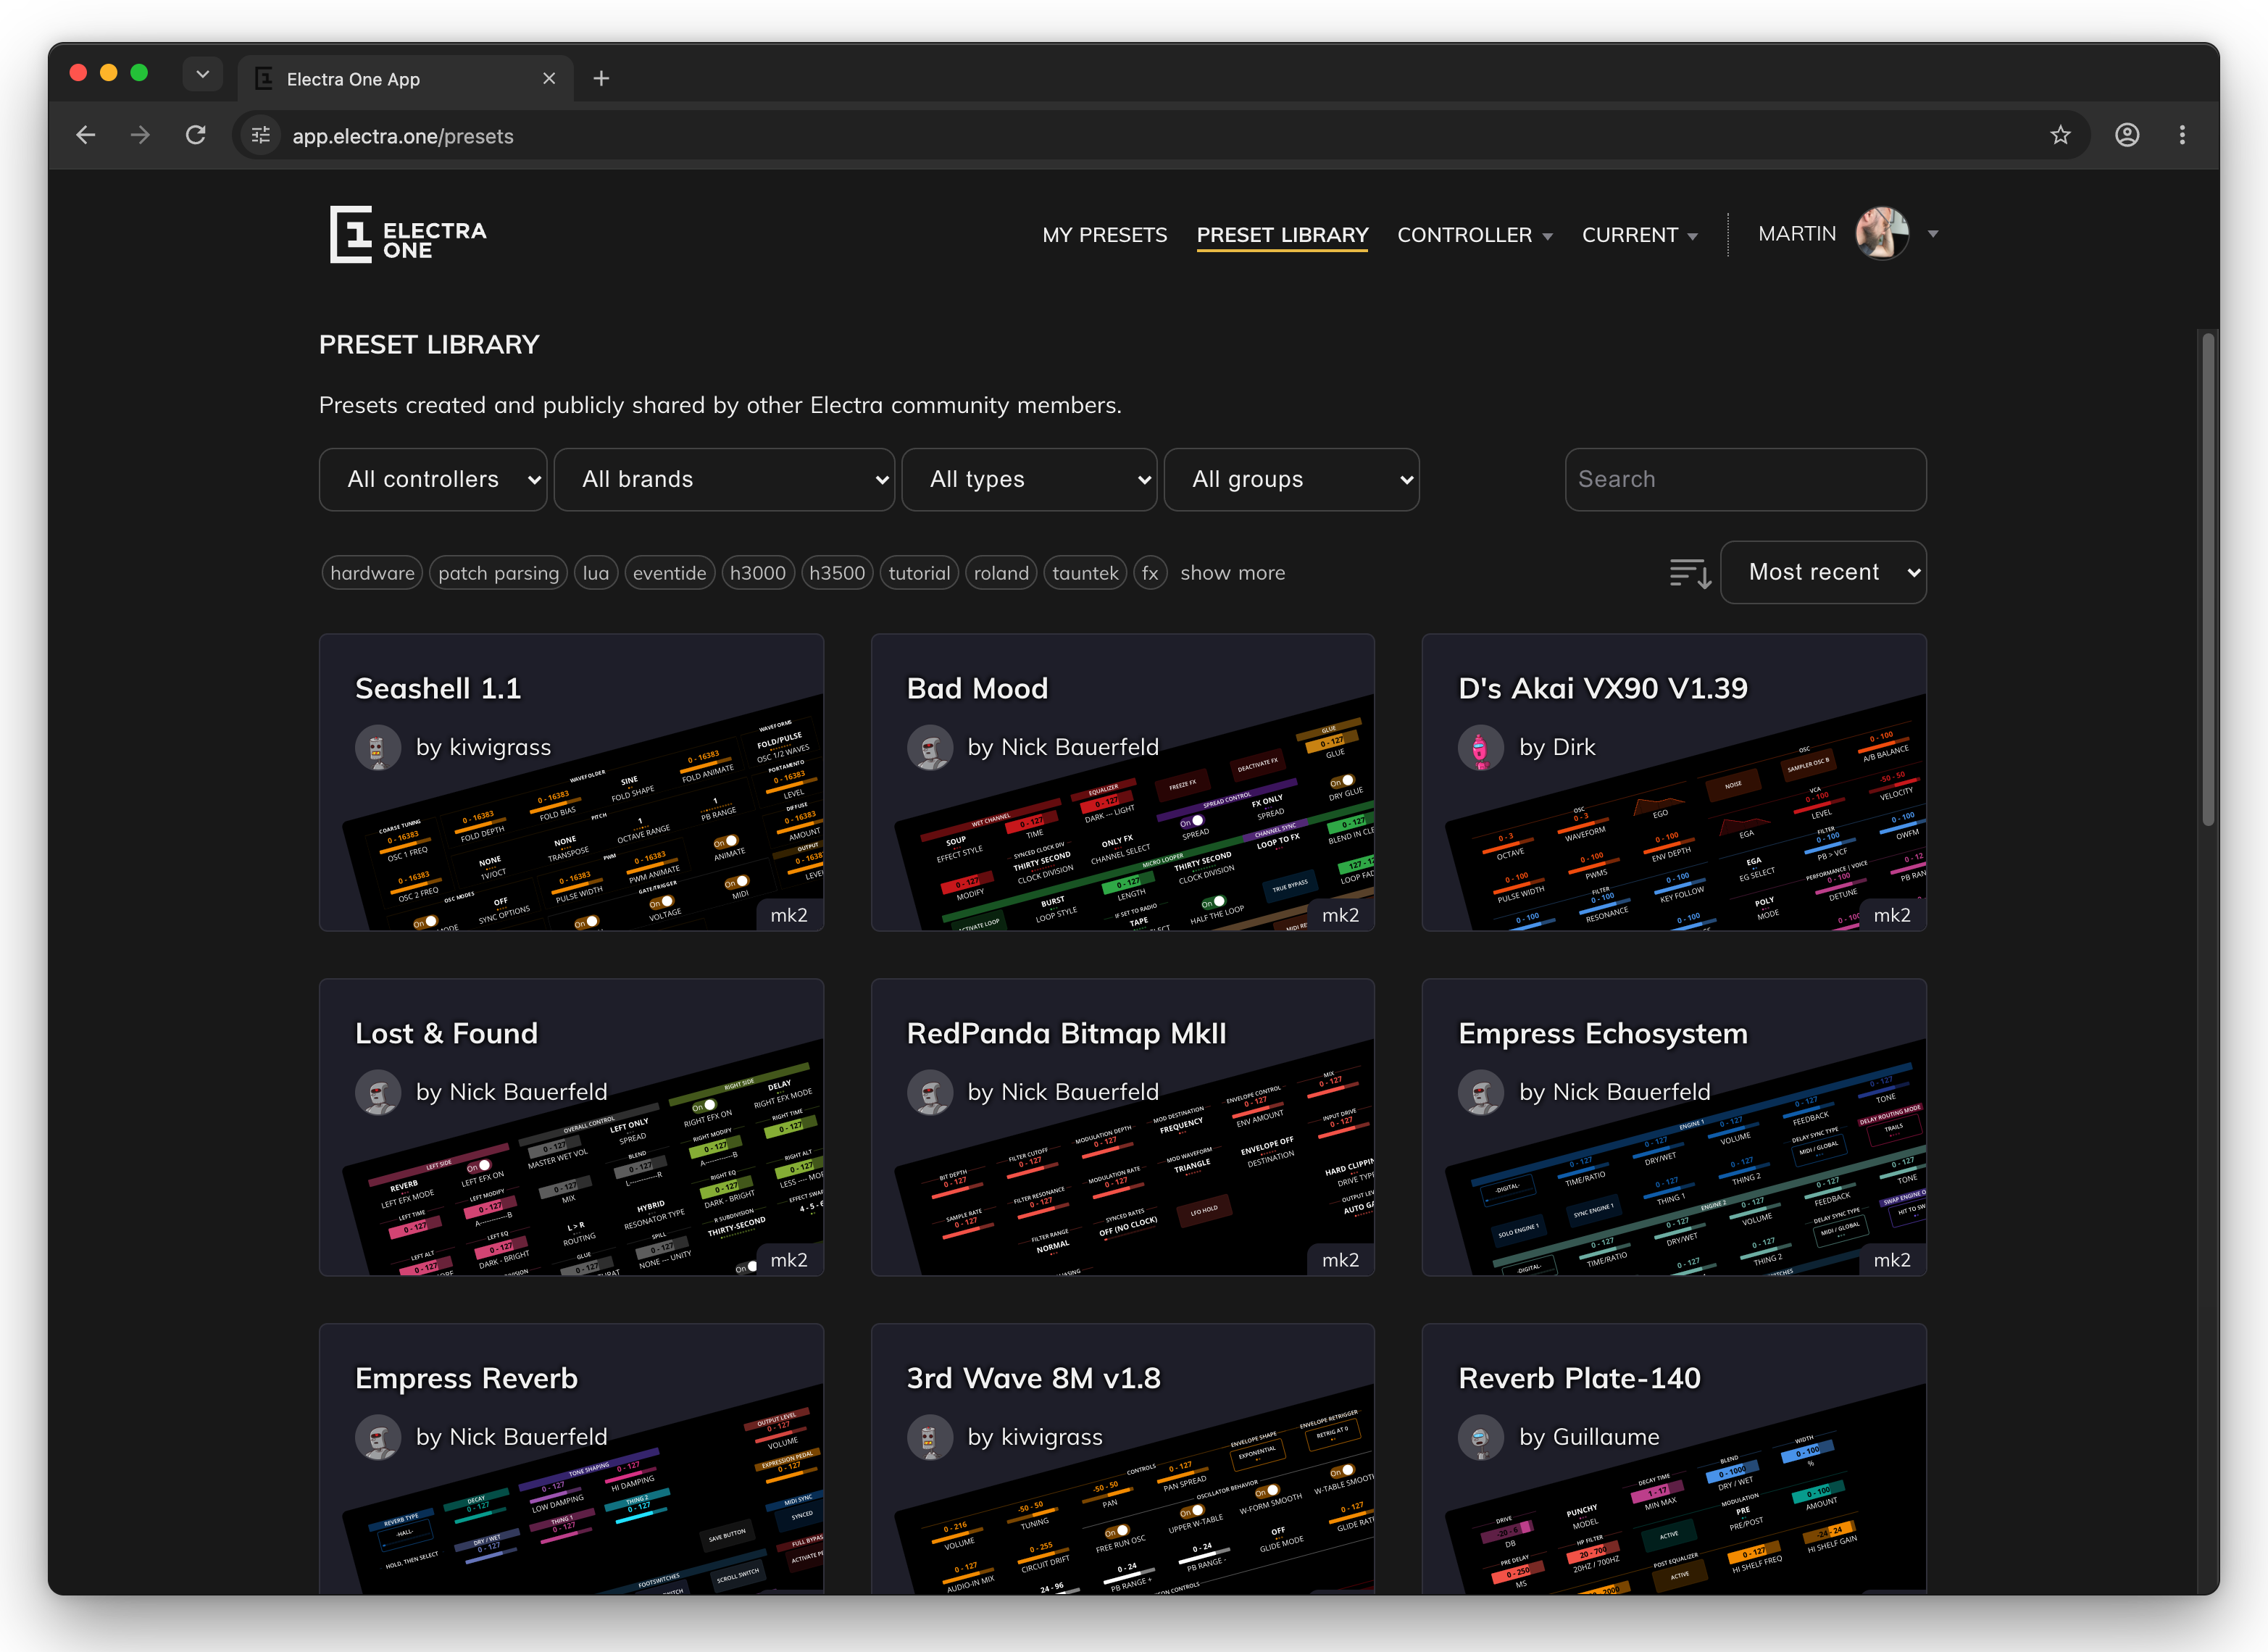
Click PRESET LIBRARY in the top menu and browse the presets shared by other Electra One users. The badge in the corner of each card says which controller the preset was made for. Use All controllers to show only the presets for your model, and the brand, type, group and tag filters to narrow the list down. Choose a preset you'd like to try.
7. Send the preset to your Electra One
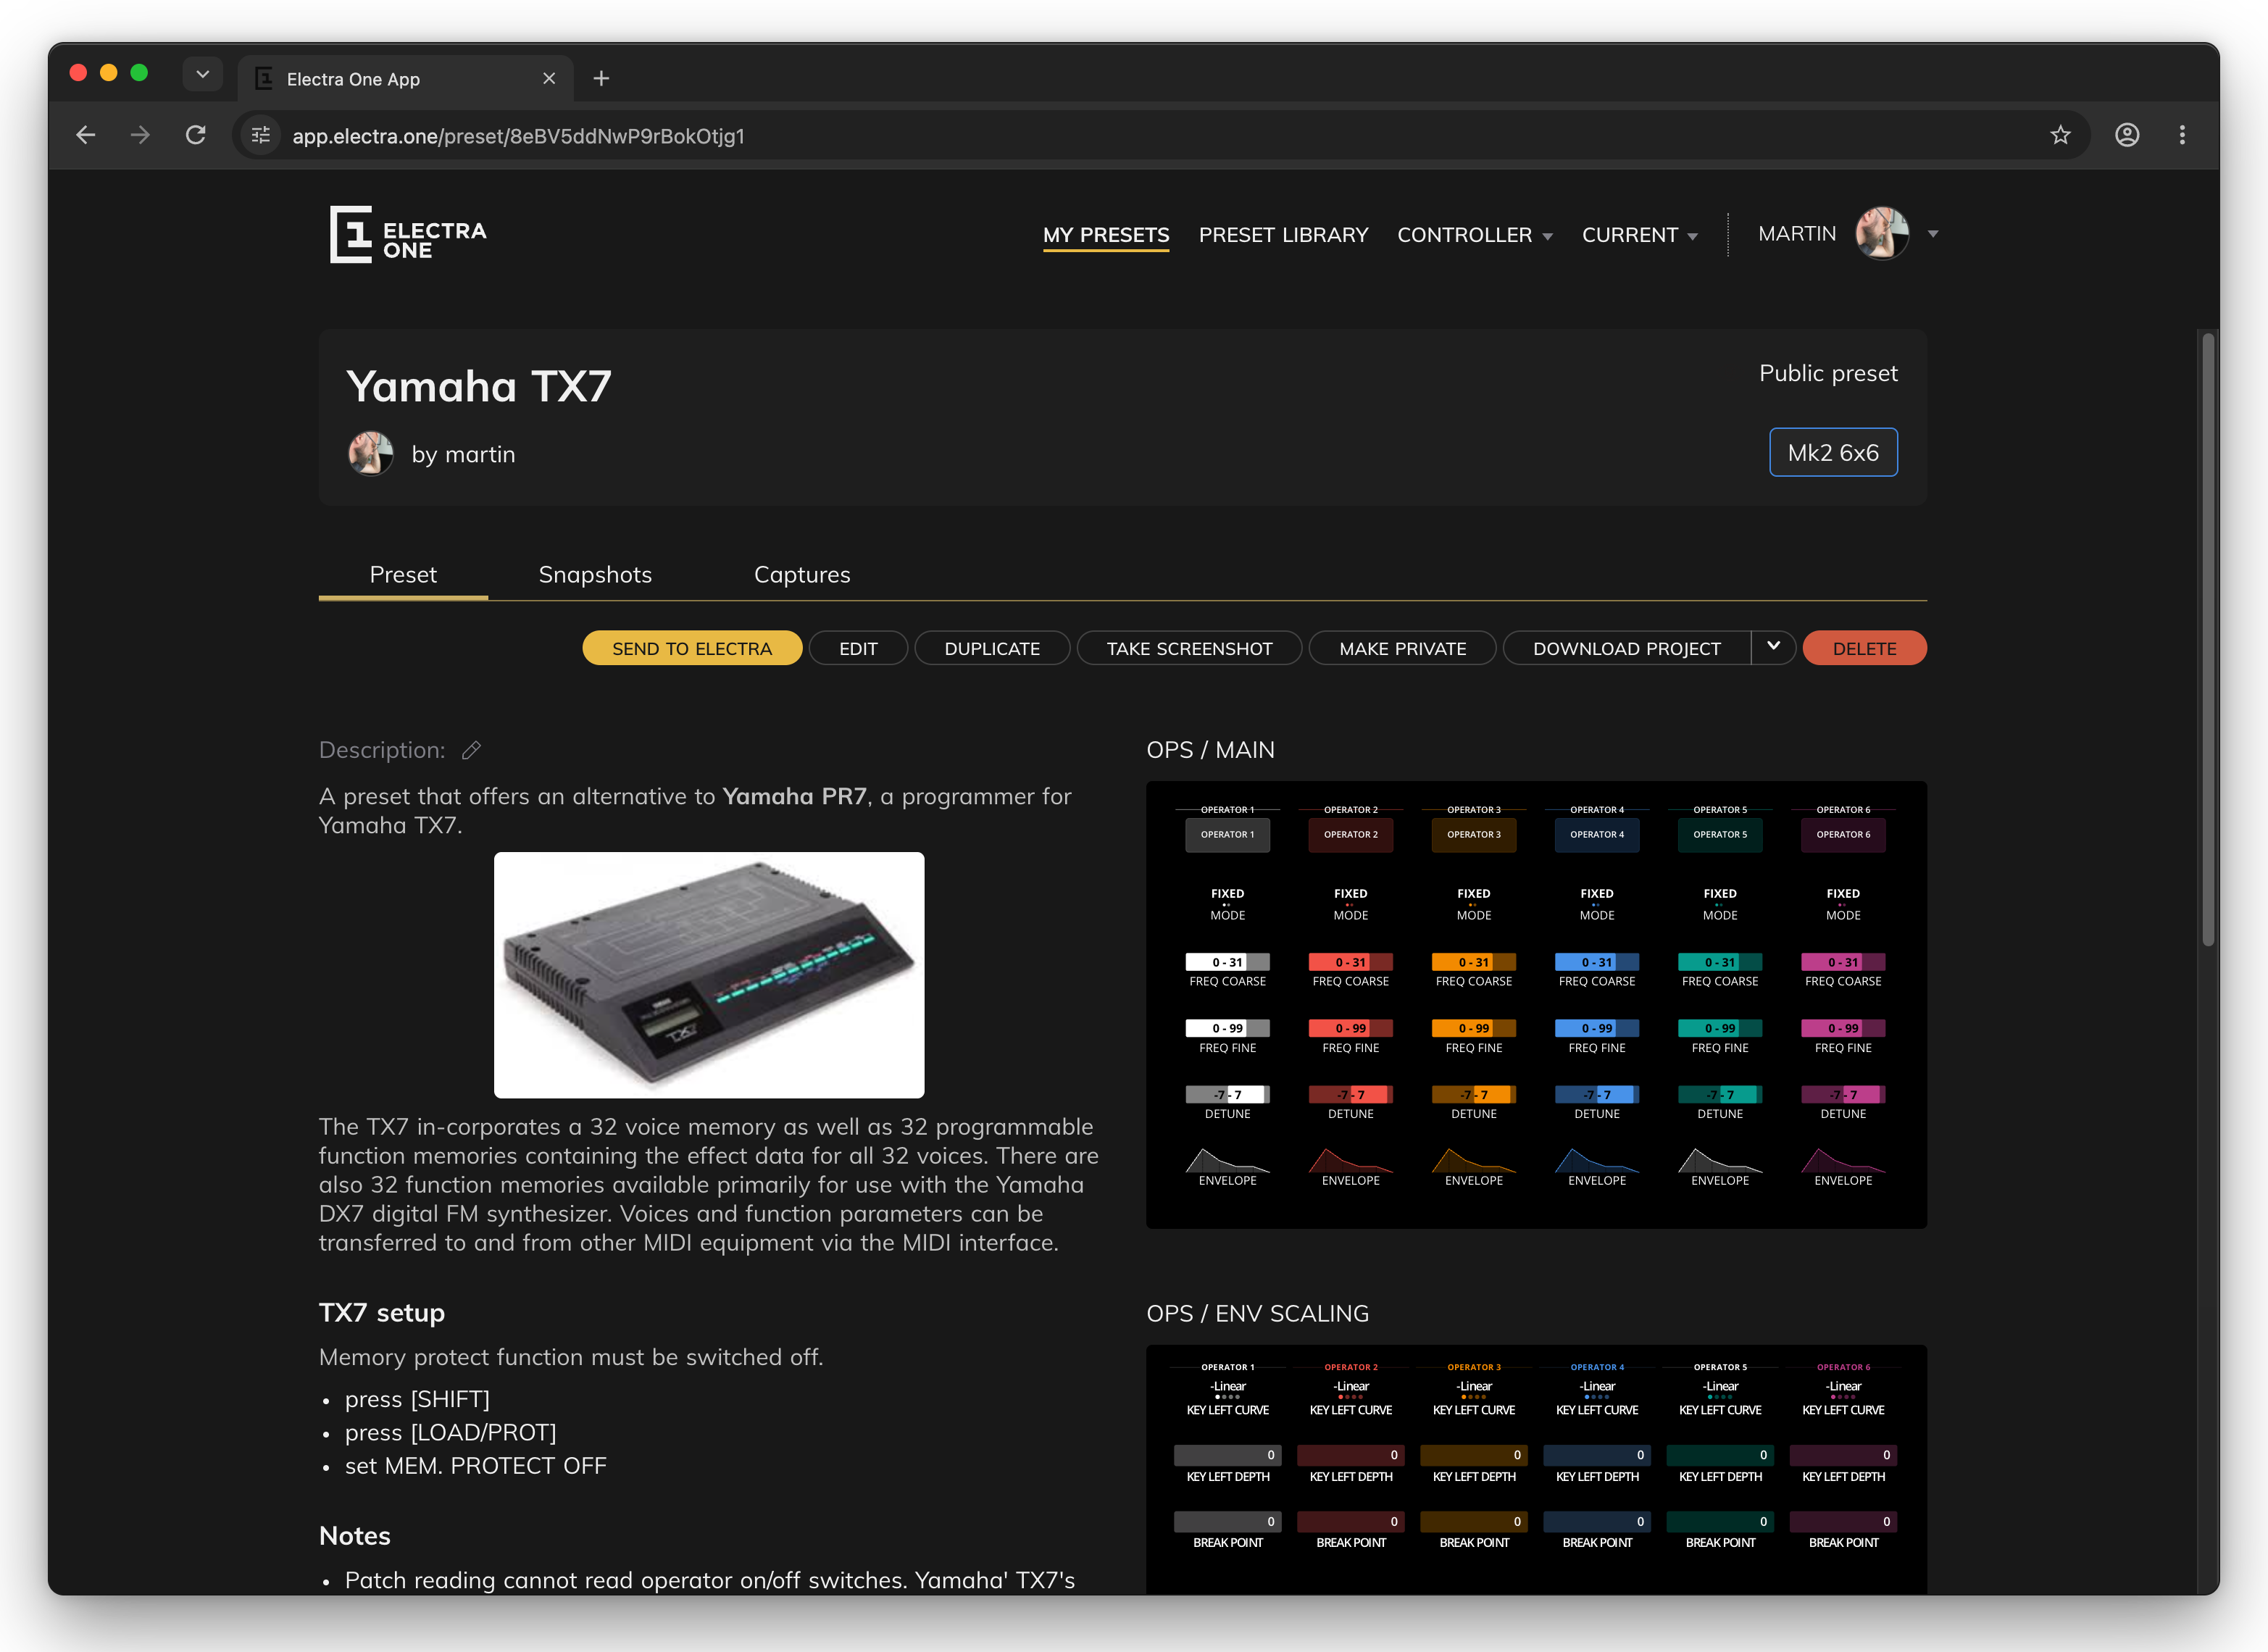
On the Preset tab of the preset's page, click SEND TO ELECTRA. The preset is sent to the preset slot that is currently selected on your Electra One and replaces whatever that slot held before. It is loaded straight away and ready to use.
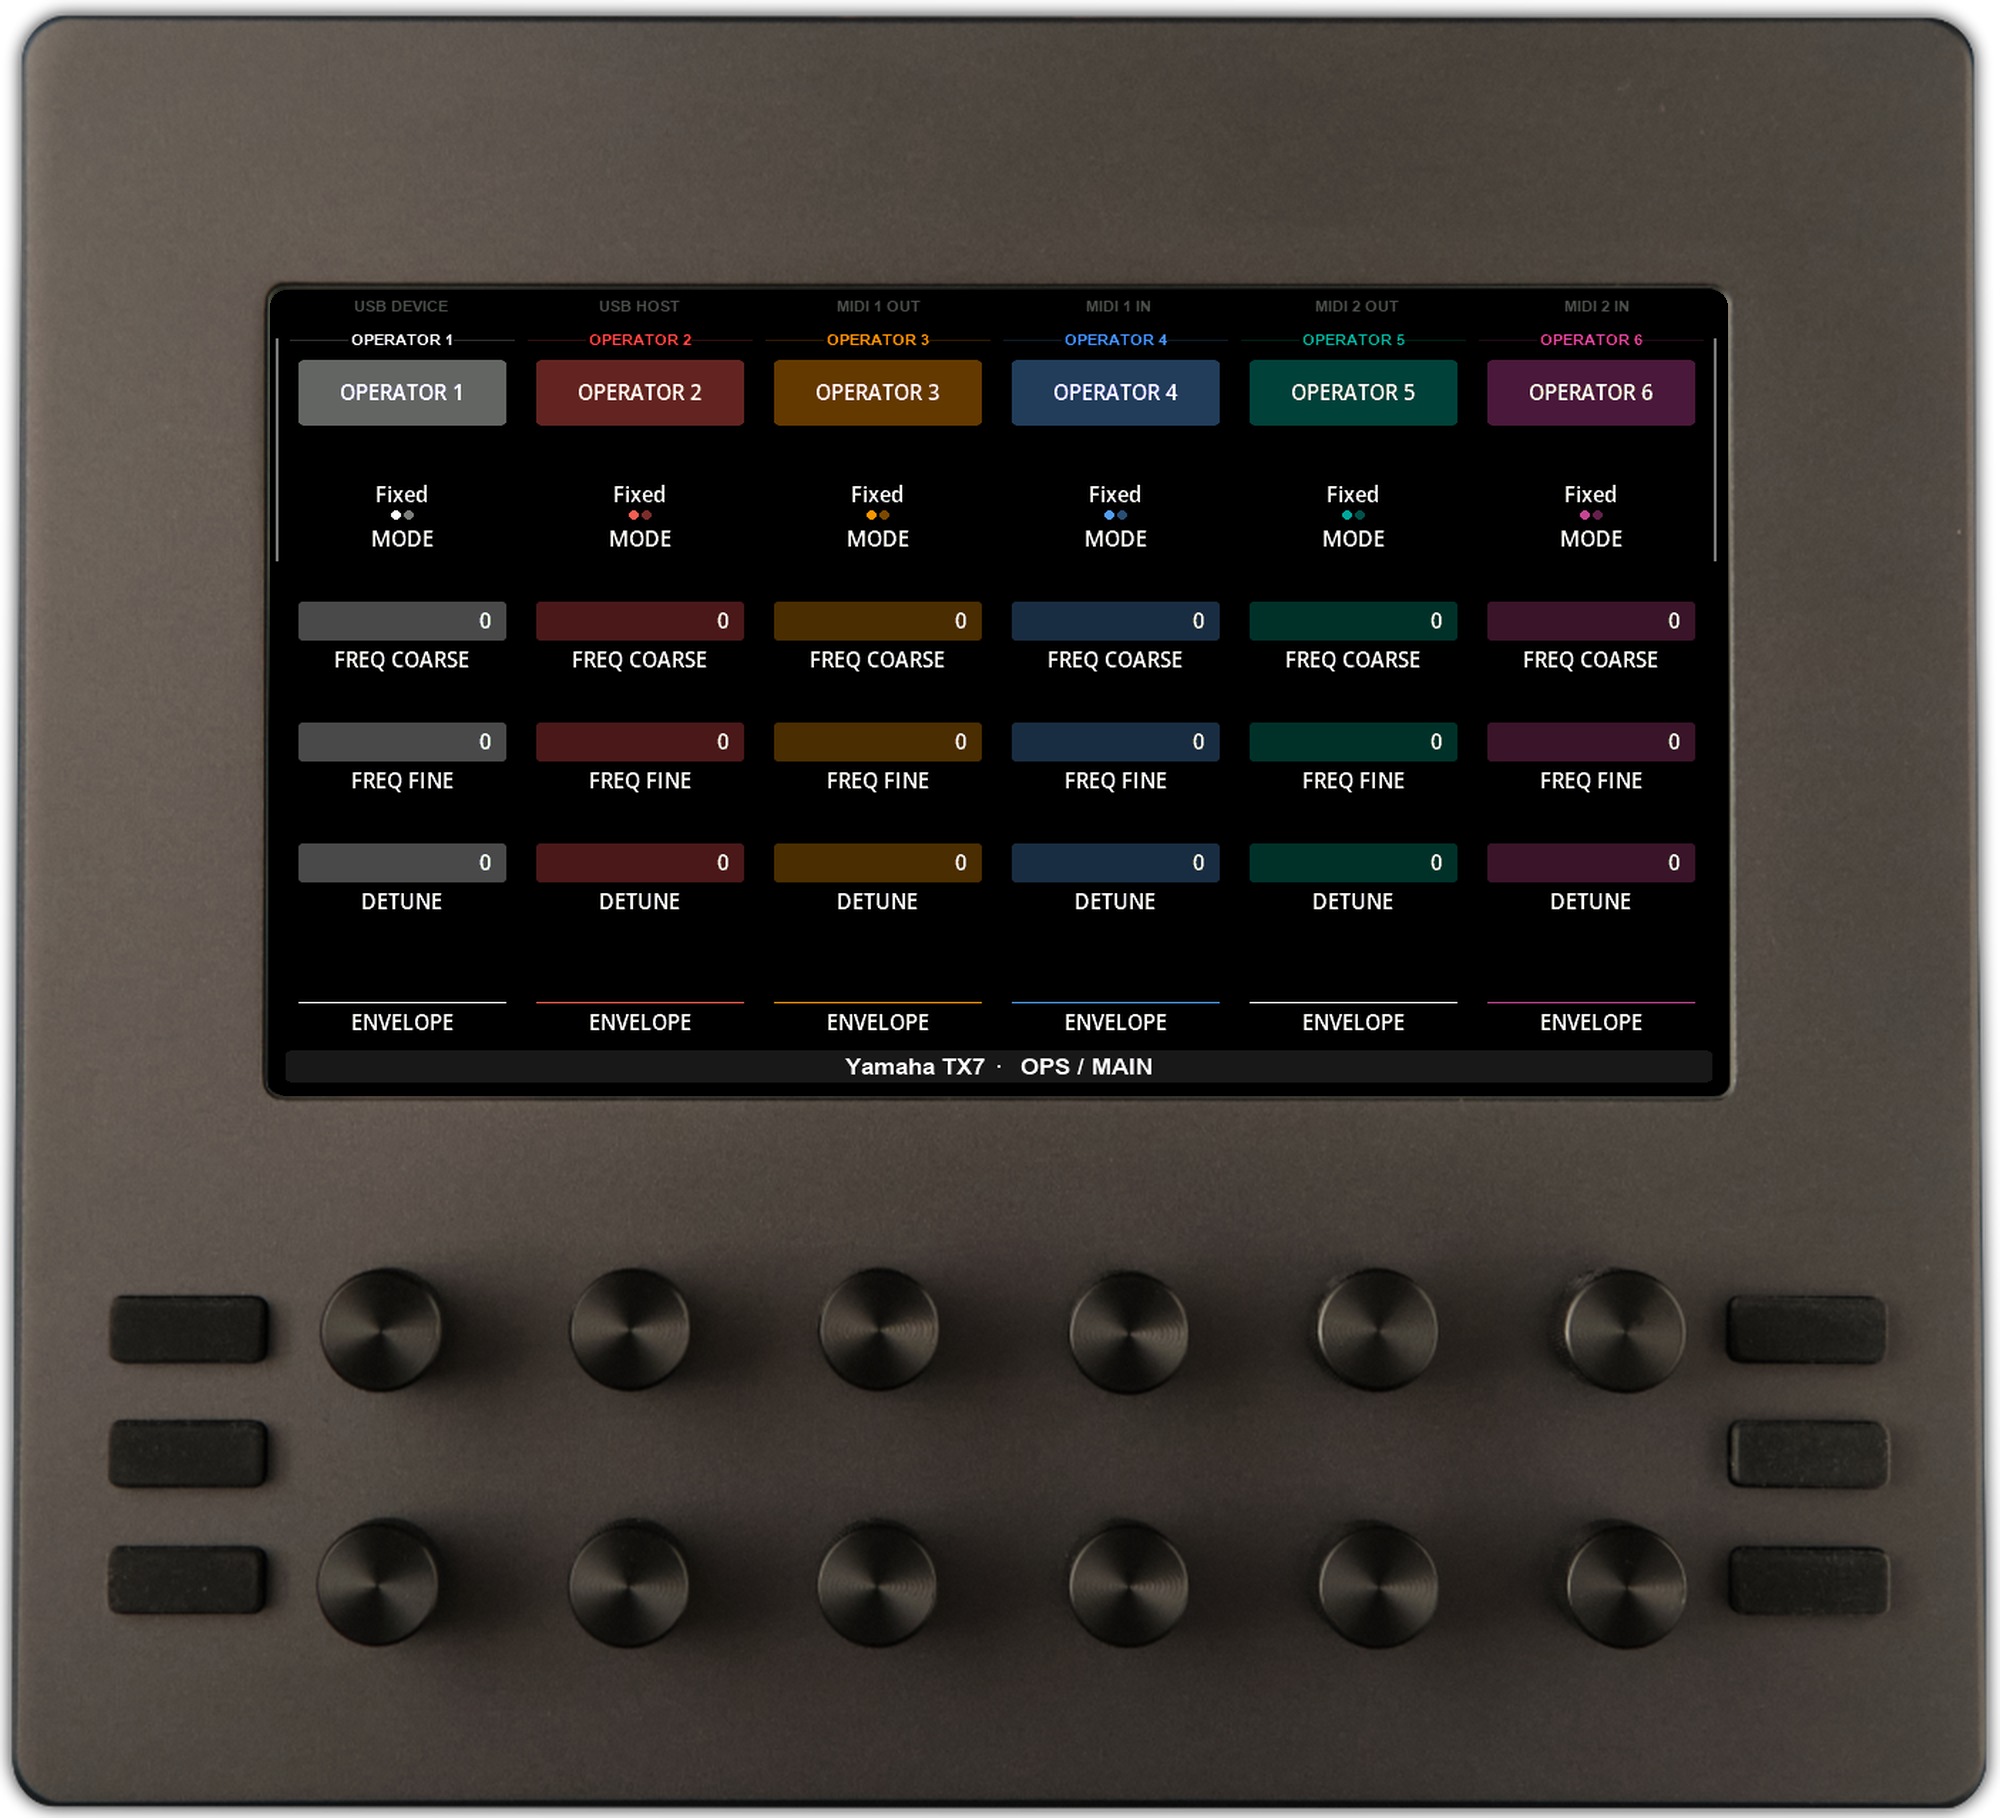
When you turn the knobs on your Electra One, or touch the screen of an Electra One Mk2, the controller sends MIDI messages according to the preset you have loaded.
The preset is now active and ready to control your hardware or software instruments. Before diving into the full User Guide, let’s take a moment to create your first Electra One preset.