

Version5.0.0 beta
How Controls Work
What you will learn
- The three kinds of control - proportional, discrete and state - and which one a parameter asks for.
- How a control keeps two numbers, the one on screen and the one in the message, and maps each onto the other.
- How to send a Control Change, a 14-bit Control Change, a Program Change and a note.
- What a control's variants and modes change, and what they leave alone.
Introduction
A control is one thing on the Electra One's screen that you change with a knob: a bar you slide through, a list of names, a pad you switch on and off. Every control has two jobs. Turn its knob and it sends a MIDI message to your instrument; when that same message comes back from the instrument, the control moves to show it.
In this tutorial we build one preset from nothing, with a control of every kind in it. By the end you will know which control to reach for, how the number on the screen becomes the number in the message, and how to send a Control Change, a 14-bit Control Change, a Program Change and a note.
You will not need a synthesizer. Every message we send is caught by the editor's own MIDI console, which is the quickest way to see what a control really does - and, as it turns out, the quickest way to be surprised by one.
Never made a preset before?
Making your First Preset does a single knob in nine short steps. Start there and come back.
The three kinds of control
Almost every parameter on an instrument is one of three kinds, and each kind has a control that fits it.
| The parameter | The kind | What you drag |
|---|---|---|
| a whole range of values - volume, cutoff, pan | proportional | a Fader |
| a handful of named choices - a waveform, a program | discrete | a List |
| something either on or off - sustain, a note | state | a Pad |
That is the first decision to make about any parameter, and everything else follows from it. Each kind comes in a few variants, which look different but work the same, and two of them have a mode that changes how they behave. We will meet all of them, one per step.
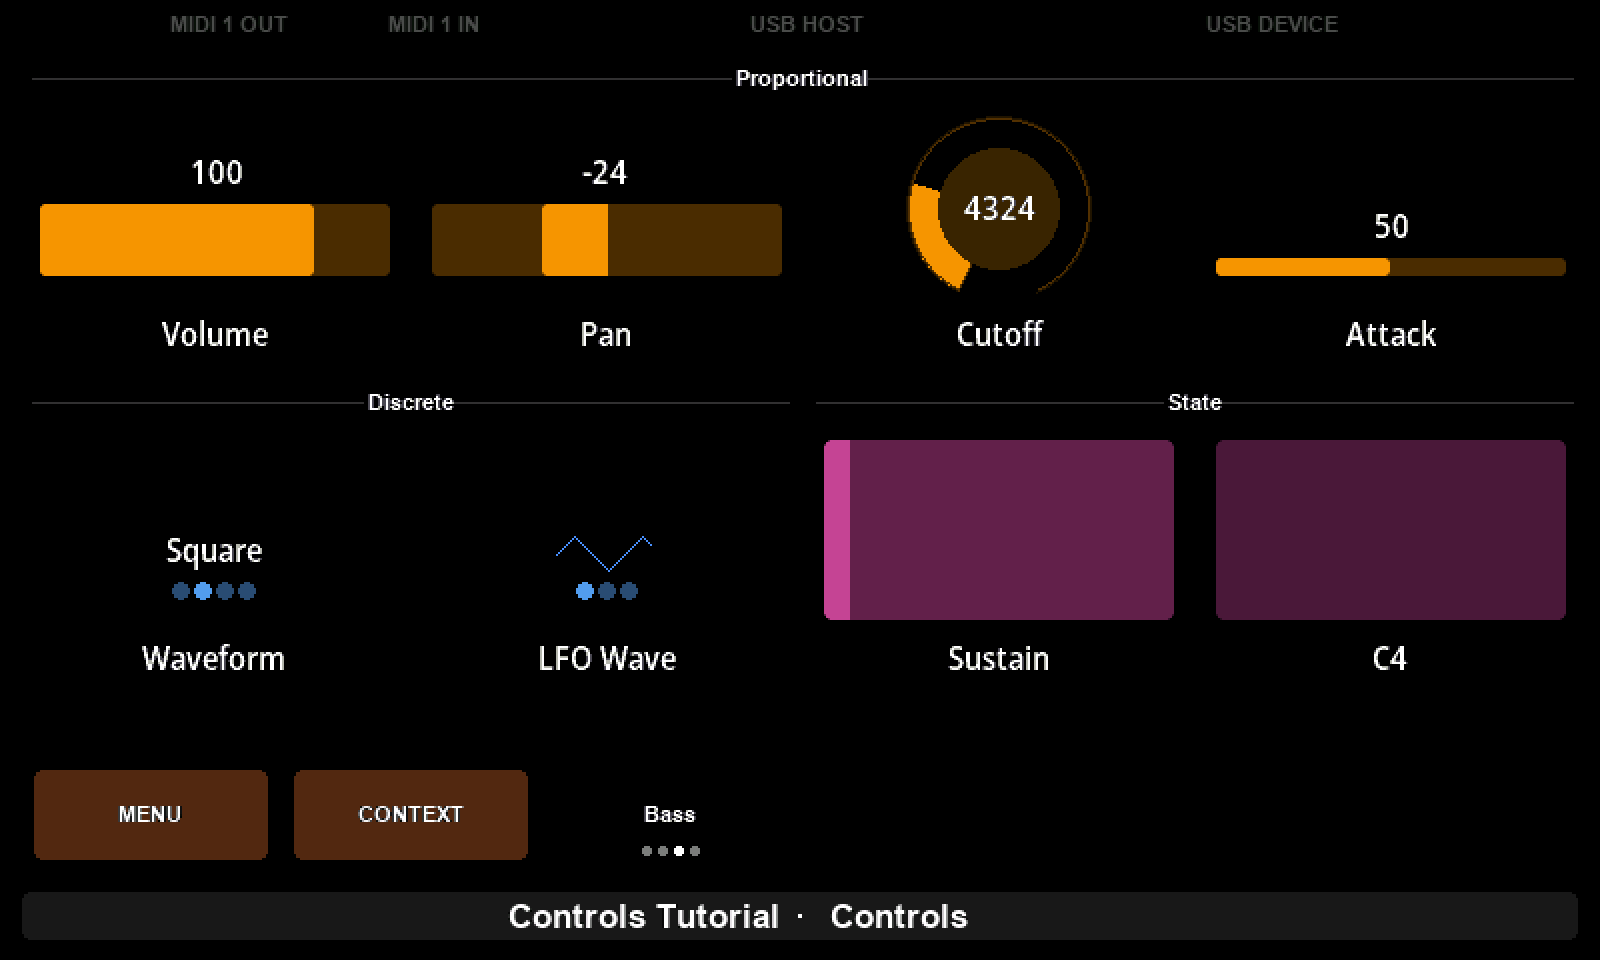
Here is where we are going. Eight controls on the knobs, one on a button, and a label over each family:
Gear required
- An Electra One controller. The pictures are from a Mini; the Mk2 works the same way with more room on screen.
- The preset editor open, with the controller connected.
- No instrument at all.
1. An empty preset
Go to MY PRESETS and click CREATE NEW PRESET - with the controller connected, so the preset is made for the model you have. Click the pencil by MY PRESET in the top-left corner and name it Controls Tutorial, then hover over PAGE 1, click its pencil, and name the page Controls.
Leave the editor in Basic mode; nothing here needs Expert. Put the Layout tab and the Console tab side by side in split view, so you can build controls and watch their messages at once. Then click Send to Electra.
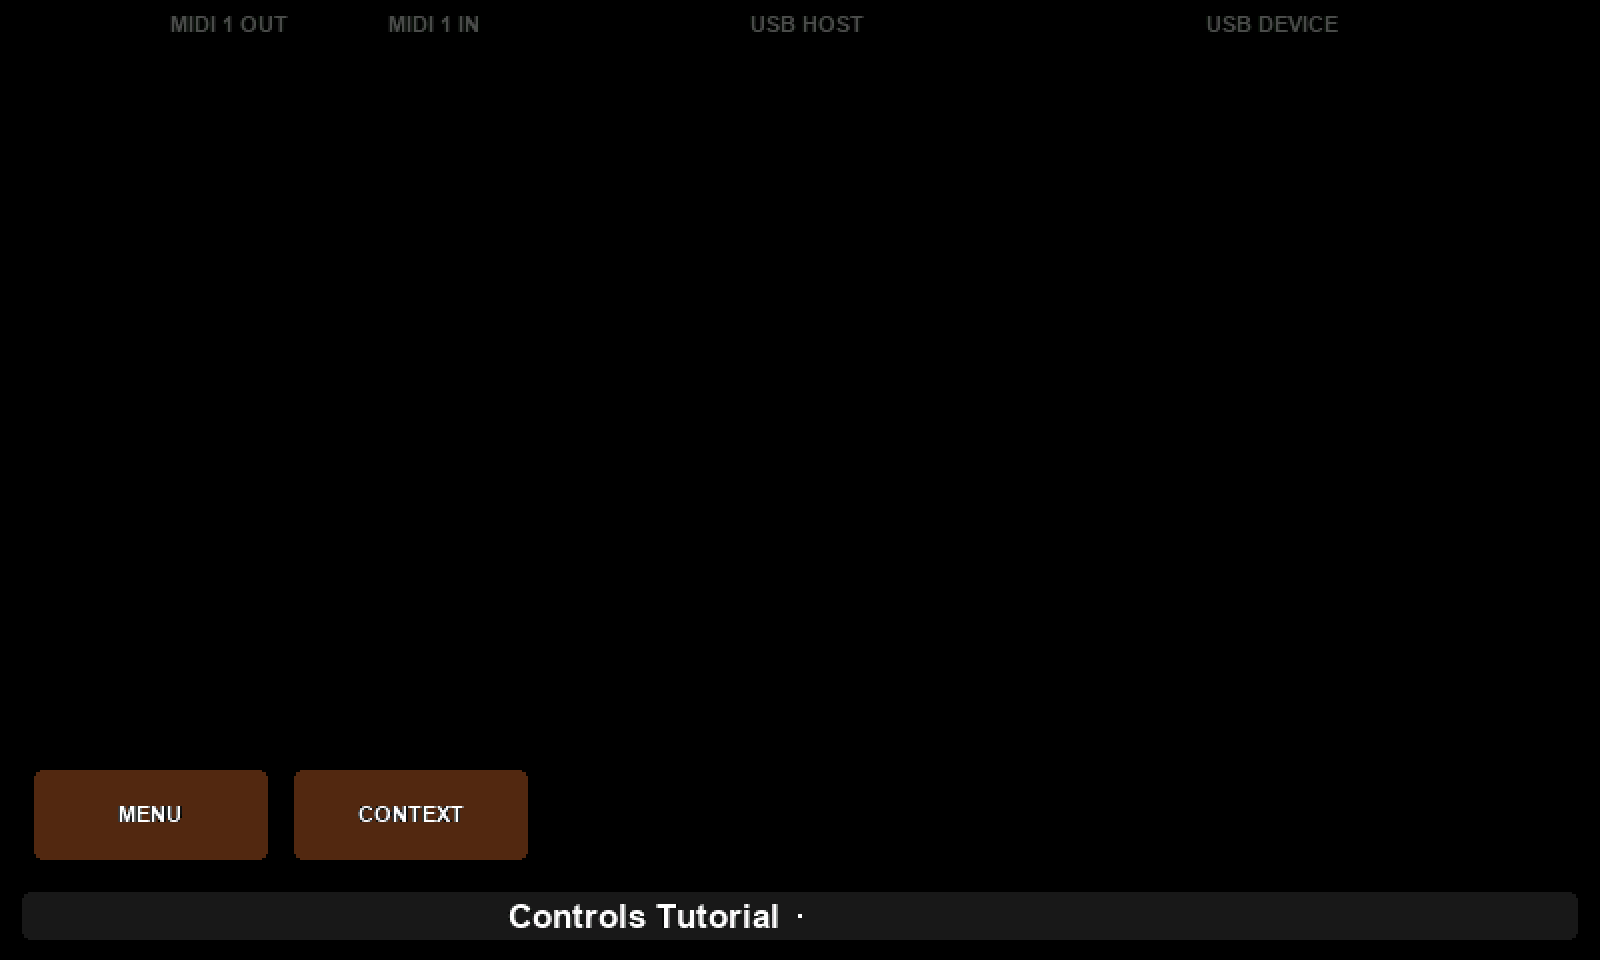
An empty preset really is empty: no controls, and no MIDI device either. The first control you drop brings one with it.
2. Volume
The plainest control there is: a range from 0 to 127, sent as Control Change 7, the controller number instruments have used for volume since MIDI began.
Find the faders tile in the repository under the screen. On the Mini it shows the Dial first, so click its little triangle to open the variants and pick Fader, the full-size bar. Drag it onto the top-left slot, which belongs to KNOB 1. Select it, name it Volume, colour it orange, and in the VALUE section type 7 into Parameter. Send, and turn the knob.
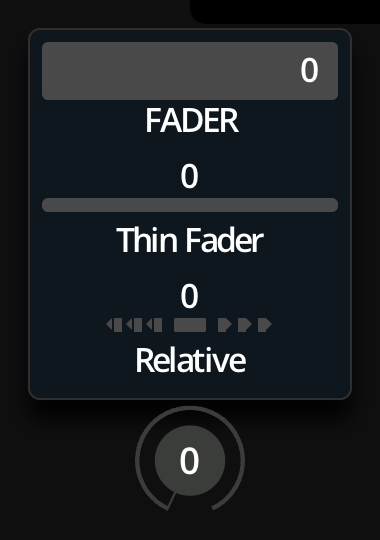
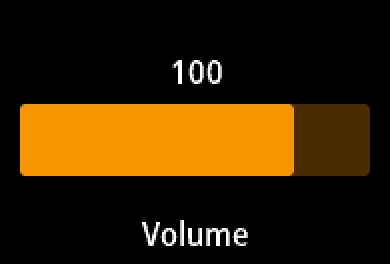
The bar follows your hand and the console fills with cc 7 … on channel 1. Notice what you did not type: Min and Max, the range you see, and MIDI Min and MIDI Max, the range that is sent, all start at 0 and 127. For a plain CC parameter that is already right.
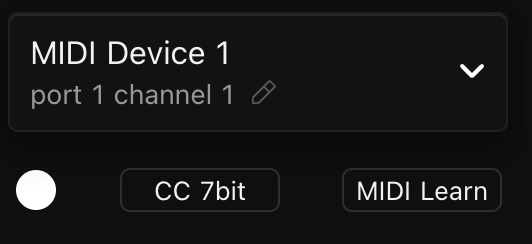
Your fader also arrived knowing three things you never told it: which instrument to talk to, what colour to be, and what message to send. All three come from the sidebar - the selected device, which is the port and channel, and the colour dot and message type below it. Set them before you drag and every control arrives the way you want it.
3. Pan, where the two numbers part company
This is the idea the rest of the tutorial rests on.
Pan is sent as 0 to 127, the same as volume: 0 hard left, 64 centre, 127 hard right. But nobody thinks about panning that way. A musician thinks "20 to the left", and a control that says -20 is far easier to read than one that says 44. So a control keeps two numbers - the display value on the screen, and the MIDI value in the message - and maps one onto the other in a straight line, in both directions.
Drag another Fader onto KNOB 2, name it Pan, colour it orange, and set Parameter 10, Min -64, Max 63. Leave MIDI Min and MIDI Max at 0 and 127. Send, and sweep the knob end to end.
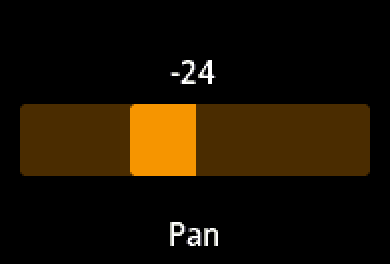
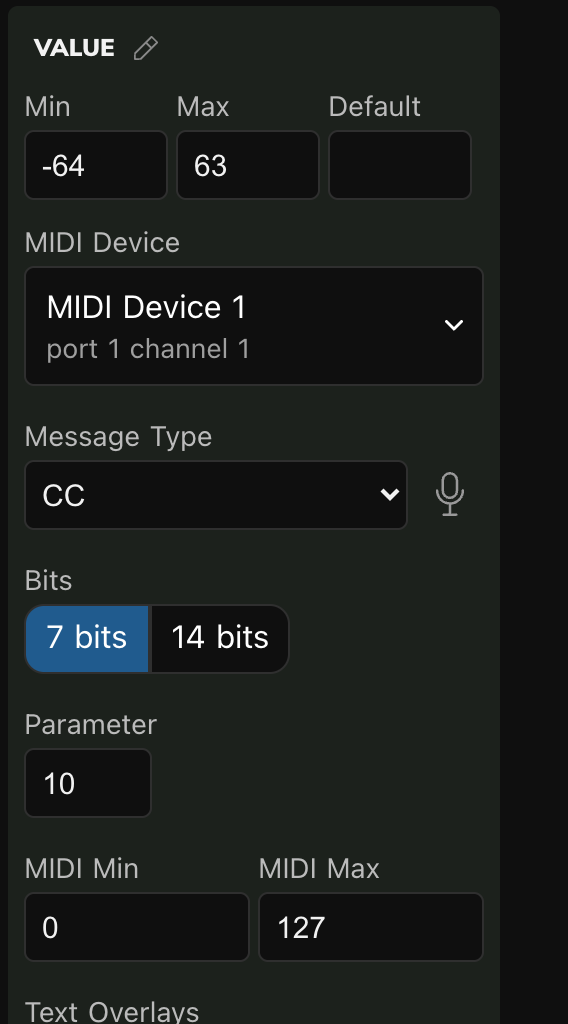
The card holds both ranges: Min and Max at the top, MIDI Min and MIDI Max at the bottom, with the message between them. The Mini shows one number and the console shows another:
| The Mini shows | What goes out |
|---|---|
-64, hard left | cc 10 0 |
0, centre | cc 10 64 |
63, hard right | cc 10 127 |
Both ranges are 128 values wide here, so each step of the knob is one step of the MIDI value and the sum is simply "add 64". That is a happy accident of this particular pair of ranges. The rule underneath is: the display minimum sends the MIDI minimum, the display maximum sends the MIDI maximum, and everything between is spread evenly and rounded.
Negative numbers belong to the display side
MIDI Min and MIDI Max never go below zero - a MIDI value is 0 to 127 and that is that. Negative numbers are something the screen does, so -64 goes in Min.
Bipolar and unipolar
Look at Mode in the control card. It says Bipolar, which is why the bar grows out of the middle: a bipolar fader draws from zero, right for positive values and left for negative ones. Switch it to Unipolar, send again, and the value has not changed, nor the message - only the picture.
| Bipolar | Unipolar |
|---|---|
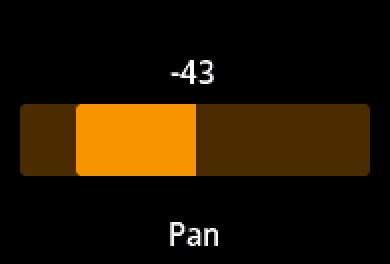 | 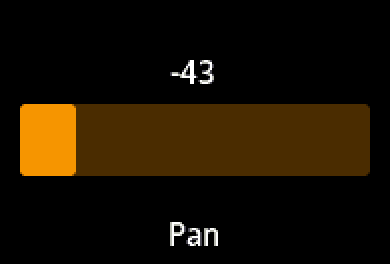 |
Same control, same value, same bytes on the wire. The picture is what tells you at a glance whether a parameter is centred or turned down. Put it back to Bipolar before you go on.
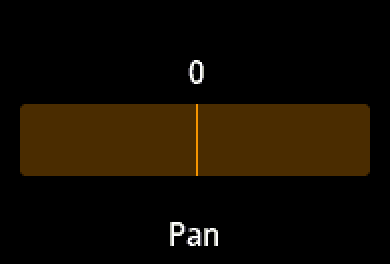
A centred bipolar fader
Its bar has no length, so a single line marks the zero. An empty track would look like a fader turned all the way down, which is the one thing a centred pan is not.
A control listens, too
Everything so far has been the control talking. Type these into the console's command line, one at a time:
cc 10 0
cc 10 64
cc 10 127
Pan jumps to -64, then 0, then 63, without a finger on the controller. That is the same mapping running backwards, and it is the half of a control beginners rarely notice. Turn the pan knob on the synthesizer itself and the Electra One follows it, for exactly this reason.
4. Cutoff, a dial with more than 127 steps
128 steps is plenty for a volume. It is not plenty for a filter sweep, where each step is audible as a click. MIDI's answer is to send two controllers for one parameter - the chosen one carries the coarse half, the one 32 higher the fine half - which together make a 14-bit number, 0 to 16383.
Open the faders tile's variants again, pick the Dial, and drop it on KNOB 3. Name it Cutoff, Parameter 74, switch Bits from 7 bit to 14 bit, and set both ranges to 0 … 16383. Send, and turn slowly.
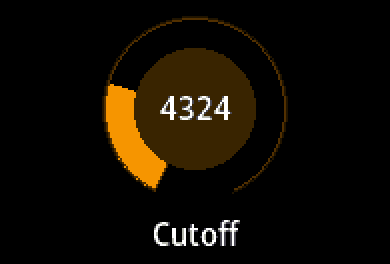
Every step now puts two lines in the console:
cc  channel #1  ctrl 74   64
cc  channel #1  ctrl 106  76
Controller 74 carries the coarse half, controller 106 - that is 74 + 32
- the fine half, and the instrument puts them back together as
64 × 128 + 76, which is8268: the number on the Mini. Sweep slowly and watch which line moves. The fine half runs76,85,88,93… while the coarse half sits at64the whole time, and only moves when the fine half has gone all the way round. That is what "128 times finer" means in practice.
The dial is a variant and nothing more: same two ranges, same mapping, same listening. A variant is only ever about the drawing.
5. Attack, two ranges of different sizes
Pan had 128 display values and 128 MIDI values, which made the mapping tidy. Instruments are rarely so kind: a great many parameters read best as a percentage, and 0 to 100 is not 0 to 127.
Take the Thin Fader this time, drop it on KNOB 4, name it Attack, Parameter 73, Min 0, Max 100, MIDI range untouched. Send, and step up from zero one click at a time.
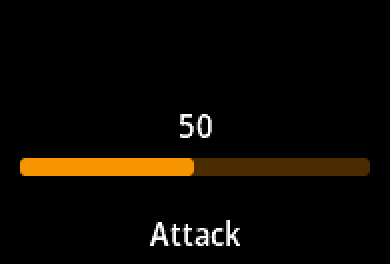
The thin variant puts a slim bar under a larger number - where the value matters more than the bar does, the number gets the room. And the numbers are worth watching:
| The Mini shows | What goes out |
|---|---|
1 | cc 73 1 |
2 | cc 73 3 |
3 | cc 73 4 |
50 | cc 73 64 |
100 | cc 73 127 |
2 never comes out. Nor does 7. 101 display values are being spread over 128 MIDI values, so the step is sometimes 1 and sometimes 2, and the values it steps over cannot be reached from this control however carefully you turn. The rounding is ordinary rounding, not truncation: display 2 works out at 2.54 and goes as 3.
None of that matters for an attack time. It matters a great deal for a parameter where one particular number has to be reachable - a MIDI channel, a bank select. When that is the case, make the two ranges the same size.
6. Waveform, a handful of named choices
The proportional family is done. Now the second kind.
An oscillator's waveform is not a range. It is four or five things with names, and the numbers behind them mean nothing at all - 0 for Saw, 32 for Square, 64 for Triangle, everything between unused. A fader here would be useless; you would be hunting for a number with no idea what it sounds like.
Drag a List from the lists tile onto KNOB 5, name it Waveform, and colour it blue - one colour per family, so the finished page shows the three kinds at a glance. Parameter 70. Then click EDIT beside List Items and add four, each with a Label and a Value:
| Label | Value |
|---|---|
Saw | 0 |
Square | 32 |
Triangle | 64 |
Noise | 96 |
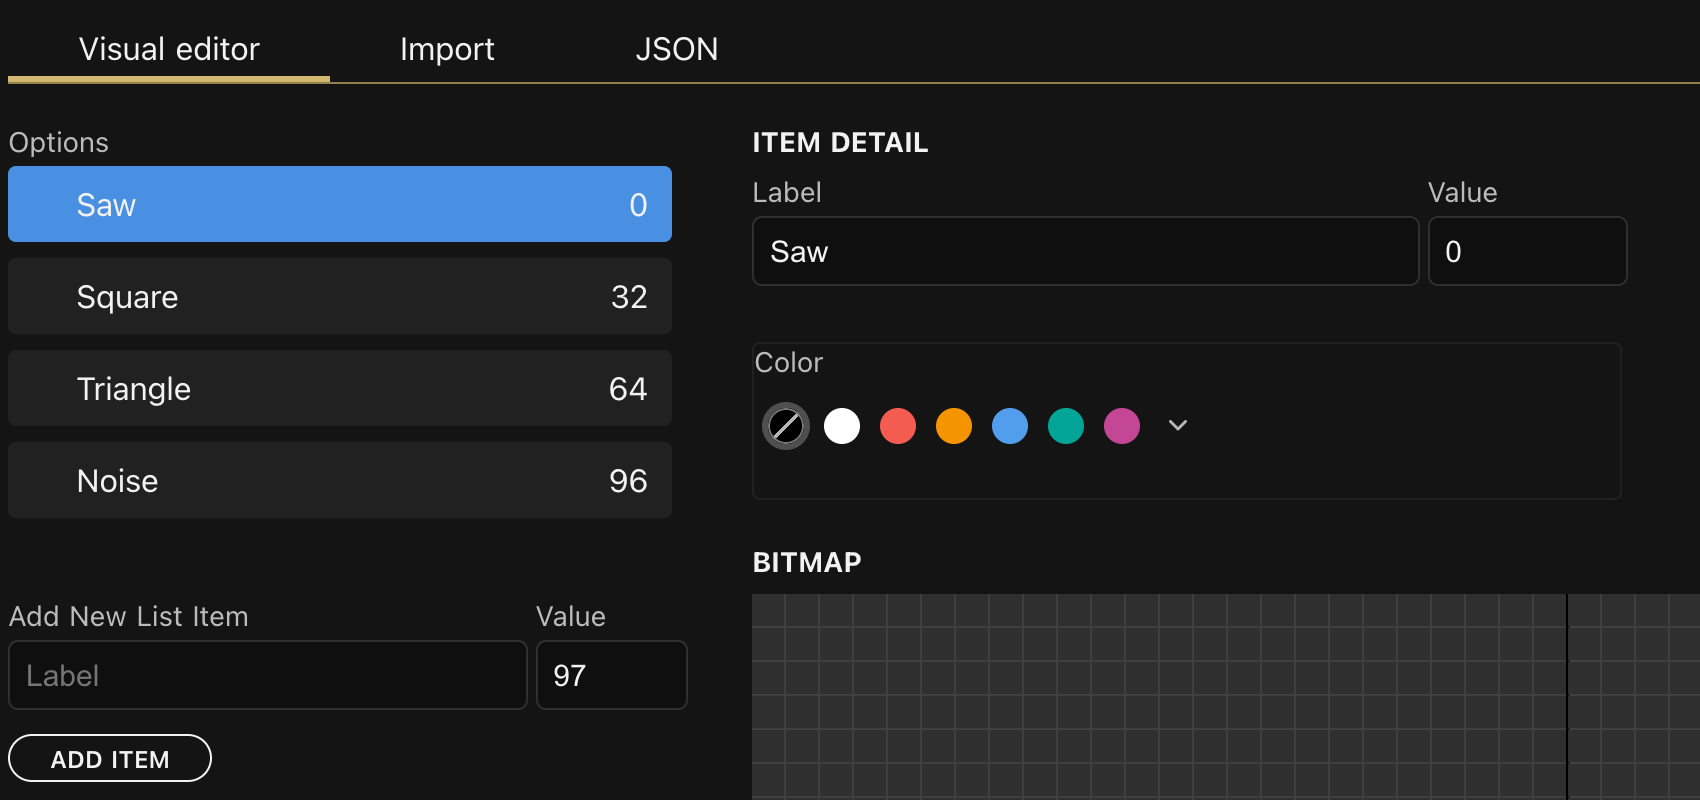
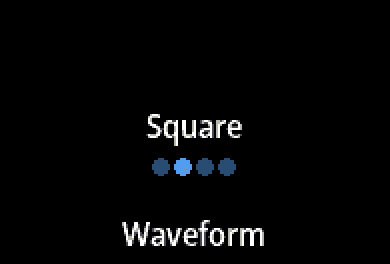
The Mini shows the name of the selected item over a row of dots, one per item, and the knob steps through them one at a time. The console shows cc 70 0, cc 70 32, cc 70 64, cc 70 96 - the item's value, sent as it is.
Look at the value card and you will see Min and Max are gone, replaced by a single Default Midi Value. There is nothing left to map: for a list the display side is the label, and each item's Value is the MIDI value, typed straight out of the instrument's manual.
That also explains what a list does with a value it has never heard of. Send cc 70 50 from the console and nothing moves. 50 is not one of the four, and rather than guess, the list keeps what it had.
7. LFO Wave, a list that draws its options
Some options are quicker to recognise as a picture than as a word. You know a square wave on sight; reading the word takes longer. A list item can carry a small drawing, 48 by 18 pixels, shown in place of the label.
Drop another List on KNOB 6, name it LFO Wave, colour it blue, Parameter 76, and give it three items: Triangle 0, Saw 1, Square 2. Now click Triangle in the Options list and look under ITEM DETAIL: there is a BITMAP grid.
Drag on it to draw. Shift-click draws a straight line from the last point, which is how you get a clean diagonal without any patience at all. Starting on a lit pixel rubs out instead. The arrows nudge the whole drawing a pixel at a time, CLEAR wipes it, and COPY and PASTE move one to another item - useful when two symbols share most of their shape.
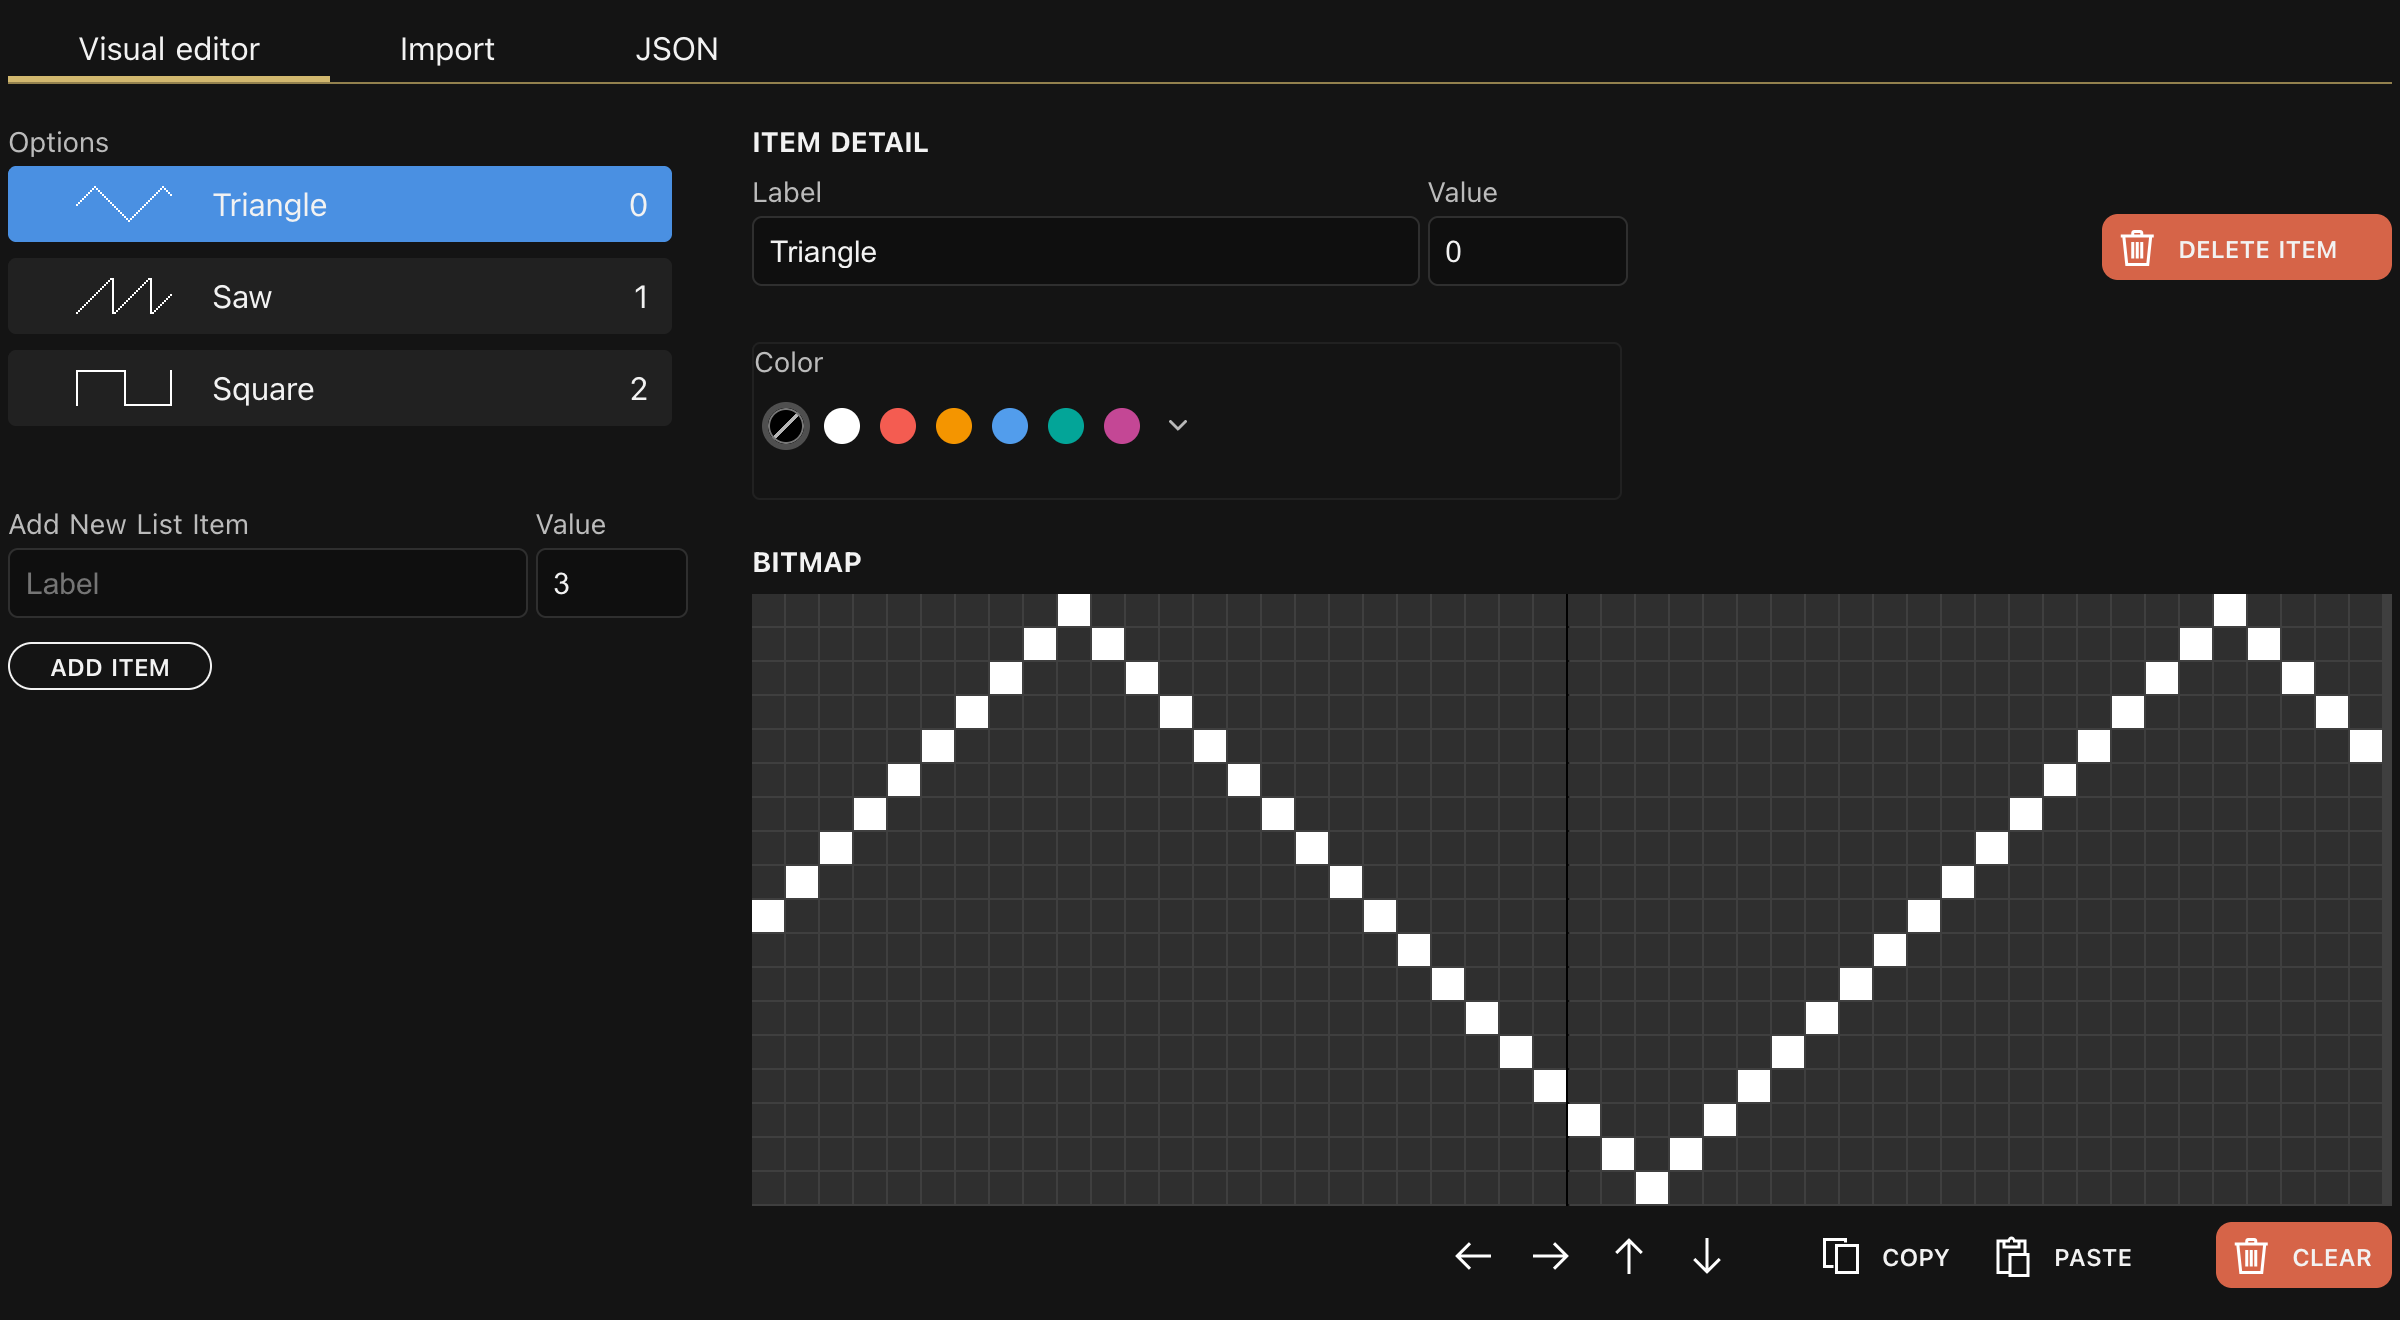

Turn the knob and the console reads cc 76 0, cc 76 1, cc 76 2. A drawing is only ever a drawing: the item's Value is still what gets sent, and the message has not changed in the slightest.
8. Sustain, on or off
The third kind. A sustain pedal is not a range and not a list of options: it is one thing, either on or off. That is a Pad.
Open the pads tile, drag the Pad Toggle onto KNOB 7, name it Sustain, colour it pink - third family, third colour - and set Parameter 64, which is the sustain pedal in MIDI. Send, then press KNOB 7; the knobs push in like buttons.
| Off | On |
|---|---|
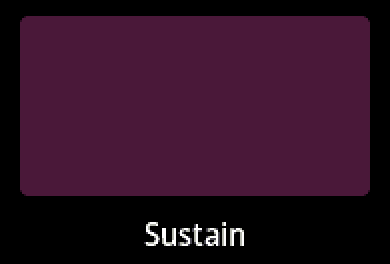 | 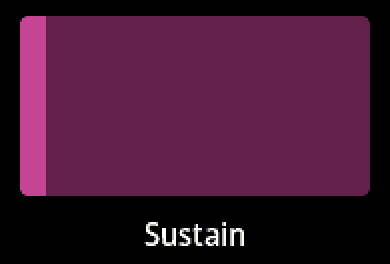 |
Each press flips the pad and the console says cc 64 127, then cc 64 0.
No Min and Max here either. A pad has an ON value and an OFF value instead - simply the two MIDI values this control can ever send. Change them and it sends something else: 64 and 0 for an instrument that wants a half-pedal, or two values from the middle of a range to switch between two settings.
What State Labels are for
Further down the card sit State Labels, and with the ordinary pad they appear to do nothing. They are drawn by the Value only variant, which prints the word for the state where the name would otherwise be - Mono and Poly, Off and Held. They can only be typed once both values exist, because each label attaches to one of them.
9. C4, a pad that plays a note
A pad does not have to send a Control Change. Change its message and the same switch does something else entirely - and with a Note it becomes a key.
Drag a Pad Momentary onto KNOB 8, name it C4, colour it pink, and change Message Type from CC to Note. The card changes as you do: the ON and OFF values are gone - a note has no use for them - and a Note field takes their place. Type 60, and the editor writes the name beside it: 60 → C4. Electra One counts octaves so that middle C is C4, which is worth knowing, because plenty of instruments call that same note C3.
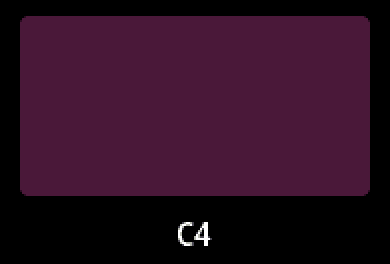
Send, then press and hold KNOB 8:
90 3C 7F   on    note c4  127     (as you press)
80 3C 7F   off   note c4  127     (as you let go)
Note On at full velocity while you hold, Note Off when you let go. That is the other pad mode at work: a Momentary pad is on only while pressed, where the Toggle pad next to it stays where you put it. One suits a sustain switch and the other suits a key - a key that latched on would be no use to anybody.
10. Program, on one of the Mini's buttons
The eight knobs are full, but the page is not. The row along the bottom of the grid belongs to the four buttons under the Mini's screen, and it takes pads and lists. A program selector belongs there: changing patch is something you do with a finger, without looking, while the other hand is busy.
Drag a List onto the first slot of that row, name it Program, colour it blue, change Message Type to Program change, and add four items: Piano 0, Strings 1, Bass 2, Lead 3. Send, and press [BUTTON 1] a few times.

Each press moves to the next patch and sends a Program Change, and after the last it starts again at the first. A list on a button always behaves this way; there is no knob to turn, so the button steps it. The item's Value is now the program number, exactly as it was the controller number for a CC. The message type decides what the number means; the list does not care either way.
Program numbers count from zero
A synthesizer whose first patch is called "1" is almost certainly sending 0, and the console will label it program 1 while the byte on the wire reads 00. The manual's numbering and MIDI's are one apart more often than not - worth checking before you type out sixteen patch names.
11. Three labels
One thing left, and it takes a minute. Drag a Group label from the labels tile onto the thin row above the top row of controls, name it Proportional, and drag its corner handle out to four columns wide. Do the same on the row above the second row of controls, twice: Discrete two columns wide over the two lists, and State over the two pads.
Groups change nothing about what the controls do. They are there so that a glance tells you what you are looking at - which, once a preset has thirty controls on six pages, is not a small thing.
What to remember
Three kinds of parameter, three controls, and one idea running through all of them.
| Proportional | Discrete | State | |
|---|---|---|---|
| you drag | a Fader | a List | a Pad |
| variants | Default, Thin, Dial | Default, Value only | Pad, Checkbox, Value only |
| modes | Bipolar, Unipolar | – | Toggle, Momentary |
| the display side | Min and Max | each item's Label | the control's name |
| the MIDI side | MIDI Min and MIDI Max | each item's Value | ON and OFF value |
And the idea: a control shows one number and sends another. Choose the display range for the person turning the knob and the MIDI range for the instrument, and Electra One keeps the two in step - in both directions, which is why a control follows the instrument as readily as the instrument follows it.
The message type decides what those numbers mean. The same list sent a controller value in step 6 and a program number in step 10 without knowing the difference, and the same pad sent a switch in step 8 and played a note in step 9. That is the whole trick to reading an instrument's manual and building a preset from it.
Where to go next:
- The Concept of Control - every control type, in full.
- Control Settings - every setting on the card, including the ones we left in Basic mode.
- Devices - ports and channels, when one instrument is no longer enough.